Accessing & Installing Your POS
In this article
The EasyBiz POS is a Progressive Web App (PWA). This means you can install it directly from your browser onto your tablet or desktop, making it look and feel like a native application without visiting the App Store or Play Store
Contents
Contents
The POS Web App
For the best performance, we recommend using Google Chrome.
Install via Google Chrome
- Open Chrome on your POS device (iPad, Android Tablet, or PC).
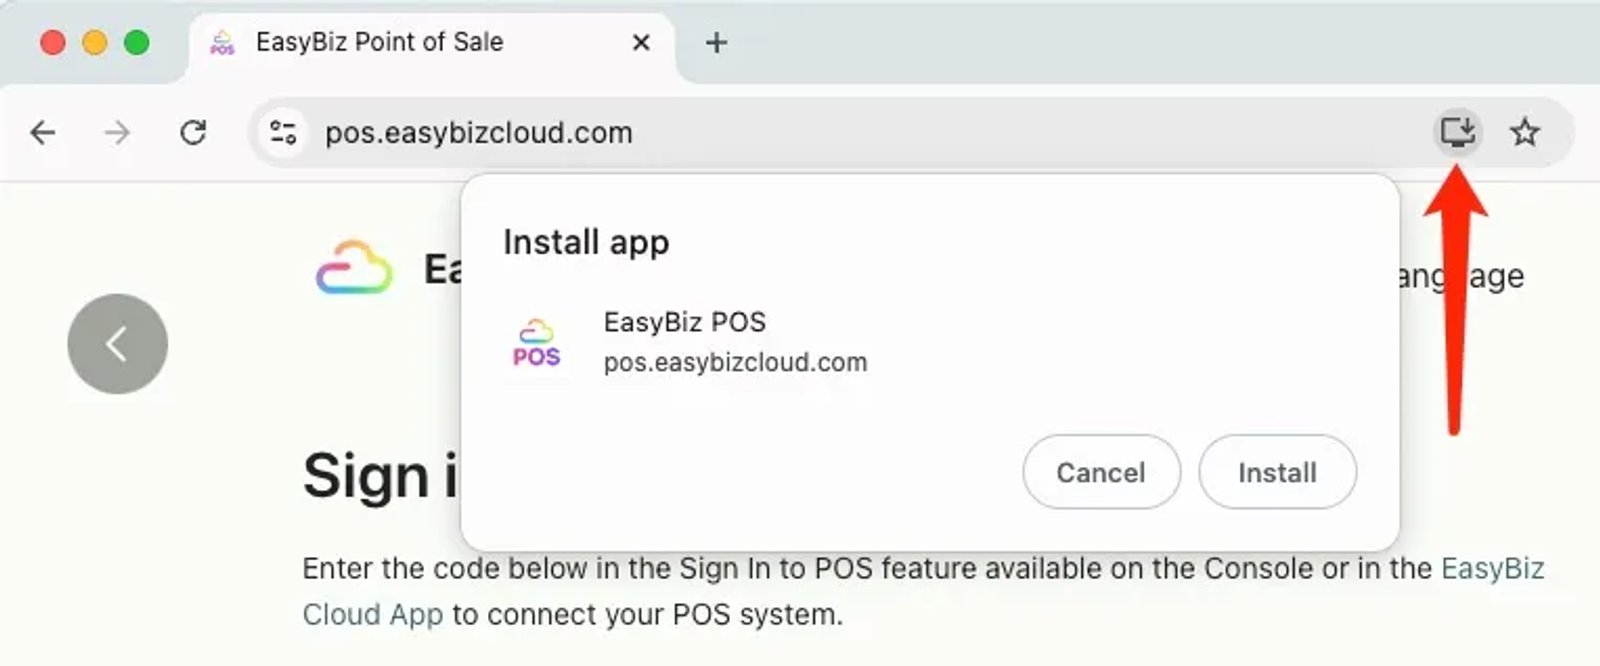
- Enter the POS URL in the address bar: https://pos.easybizcloud.com
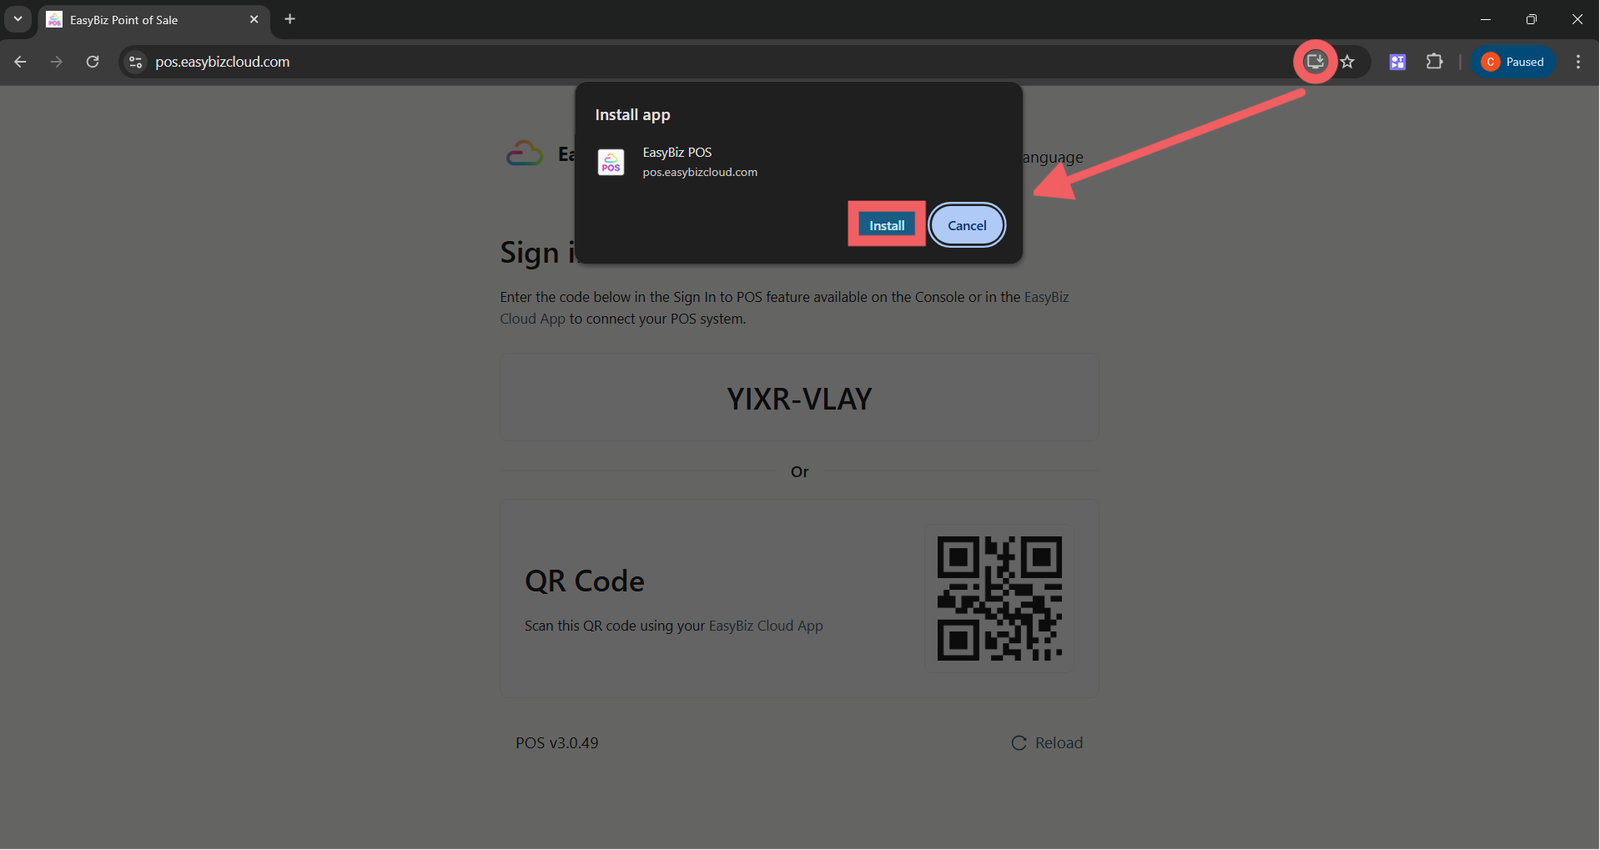
- Once the page loads, look at the right side of the browser’s address bar. Click the Install icon (often looks like a computer screen with a down arrow).
- Follow the on-screen prompts to confirm.
Add to Home Screen (Dock)
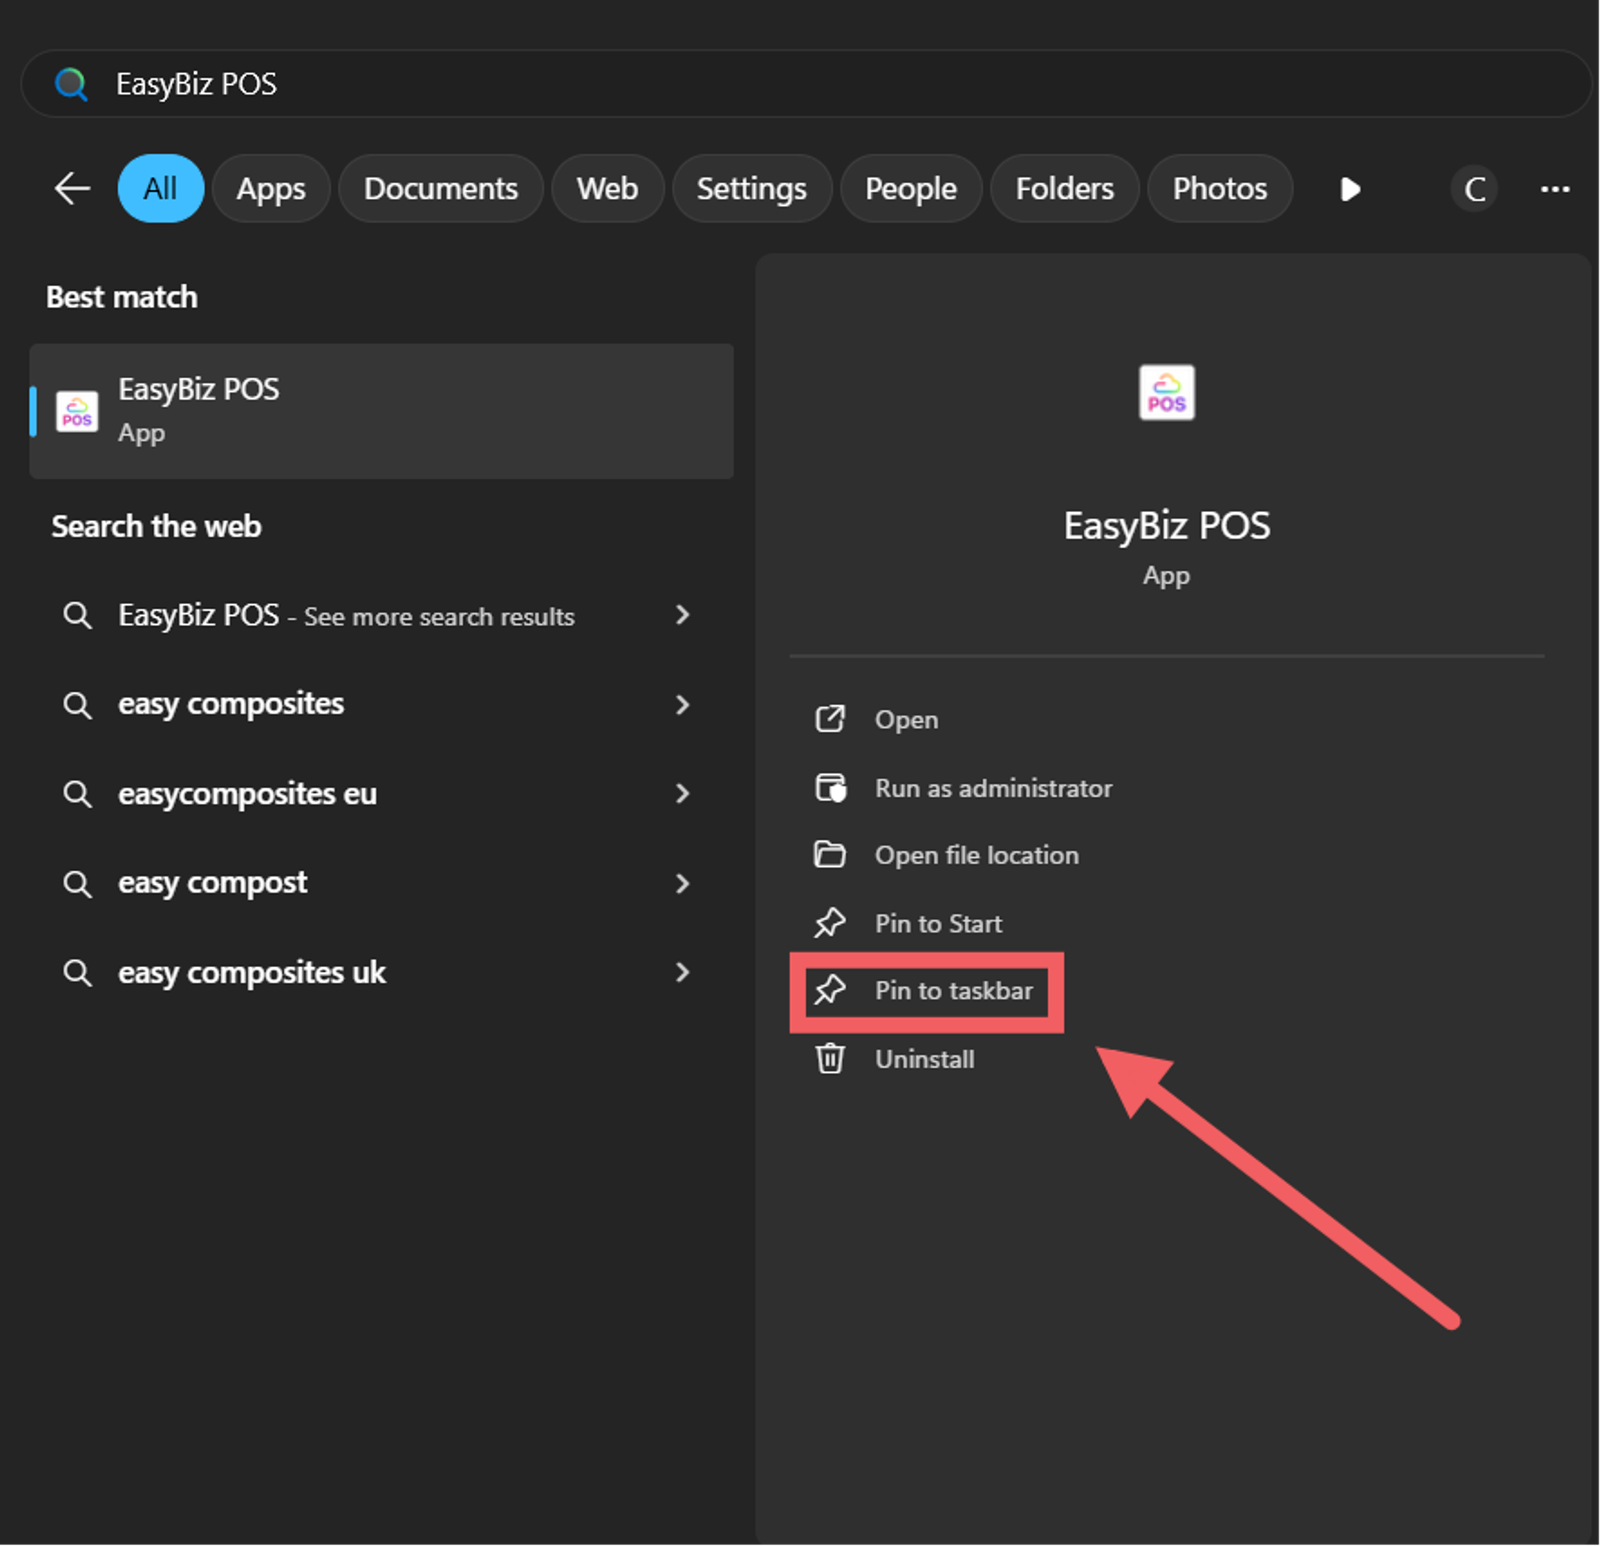
Once installed, the EasyBiz POS icon will appear on your device's app list.
- For Tablets: Drag the icon to your Dock or Home Screen.
- For Desktop: Pin the app to your Taskbar (Windows) or Dock (Mac).
This ensures your staff can launch the POS immediately with a single tap, hiding the browser interface for a full-screen experience.
Signing In to the POS
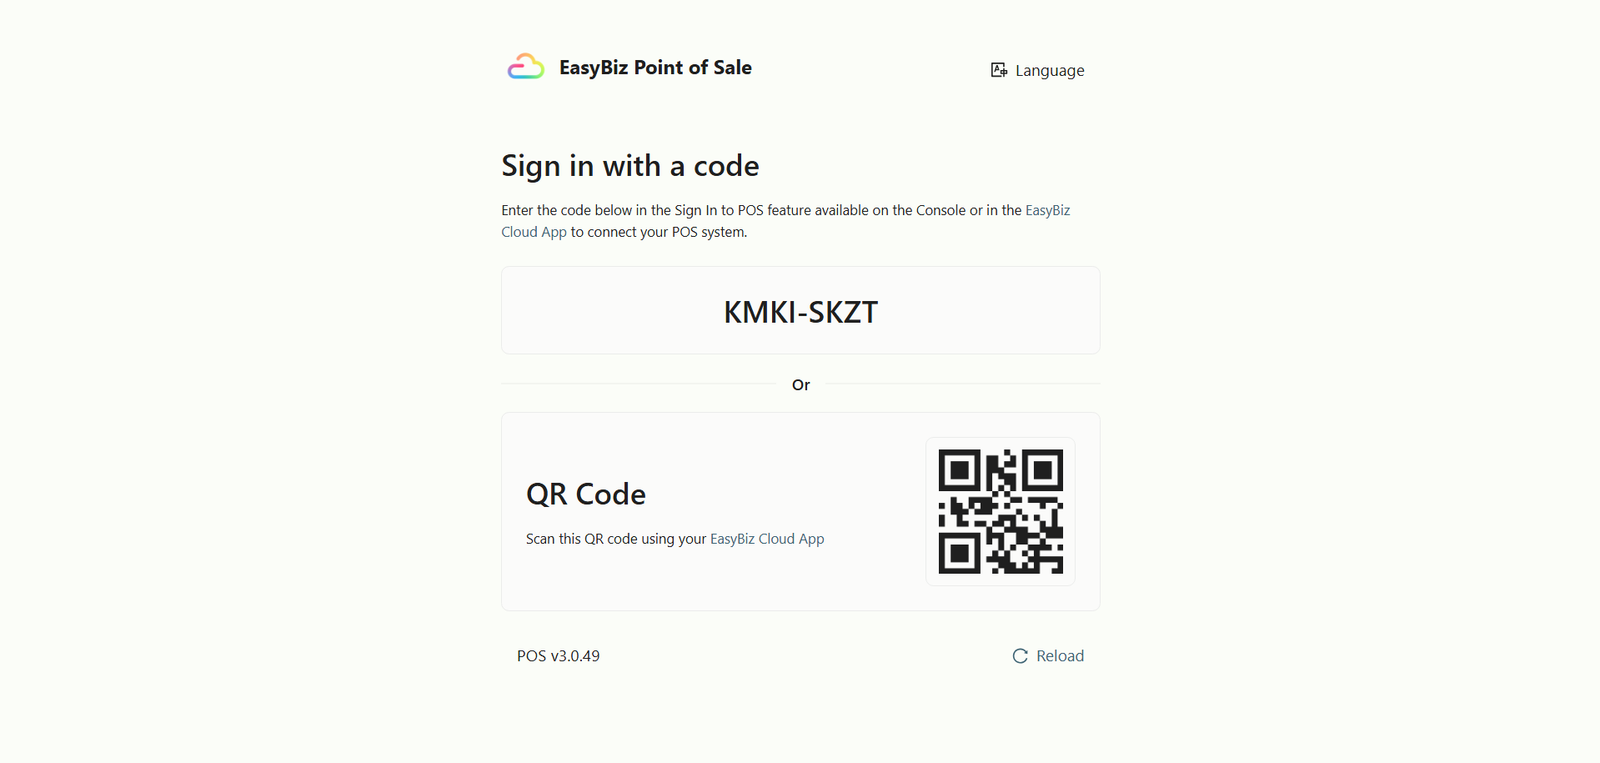
When you launch the POS for the first time, you will see a Sign In screen displaying a QR Code and an 8-digit Pairing Code. You need to authorize this device to link it to a specific POS Location (Outlet).
There are three ways to authorize a device:
1) Scan via Mobile App (Fastest)
If you are physically at the store with your phone, this is the quickest method.
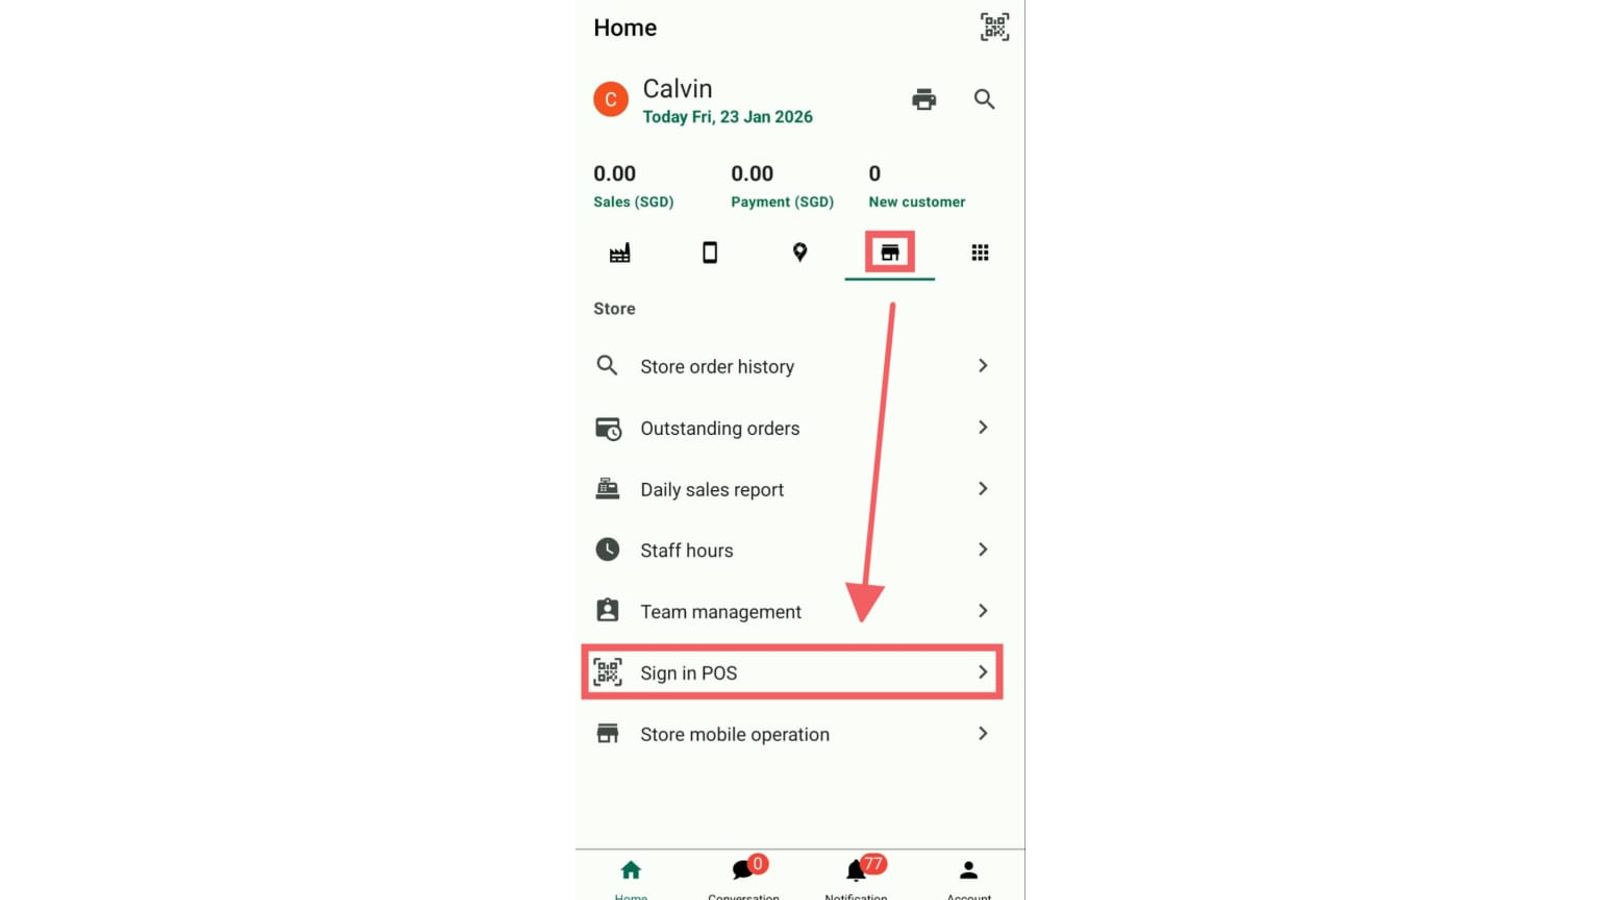
- Open the EasyBiz Cloud Mobile App on your phone (Administrator account).
- Navigate to the Store tab.
- Select Sign In to POS.
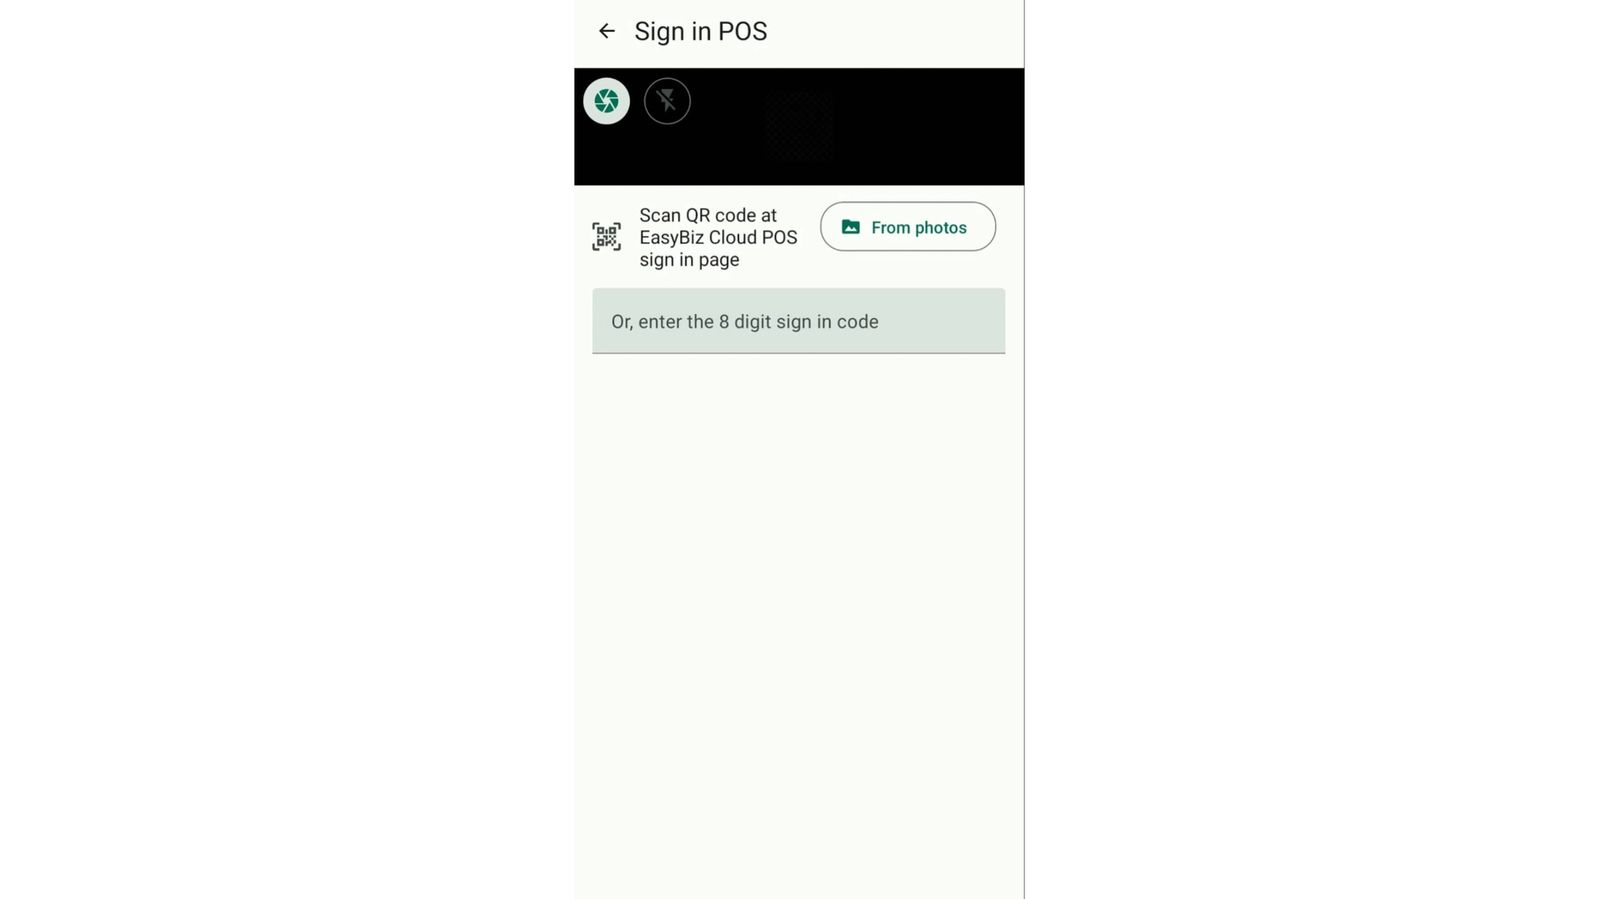
4. Your camera will open. You can either scan the QR code displayed or input the 8-digit on the POS terminal screen.
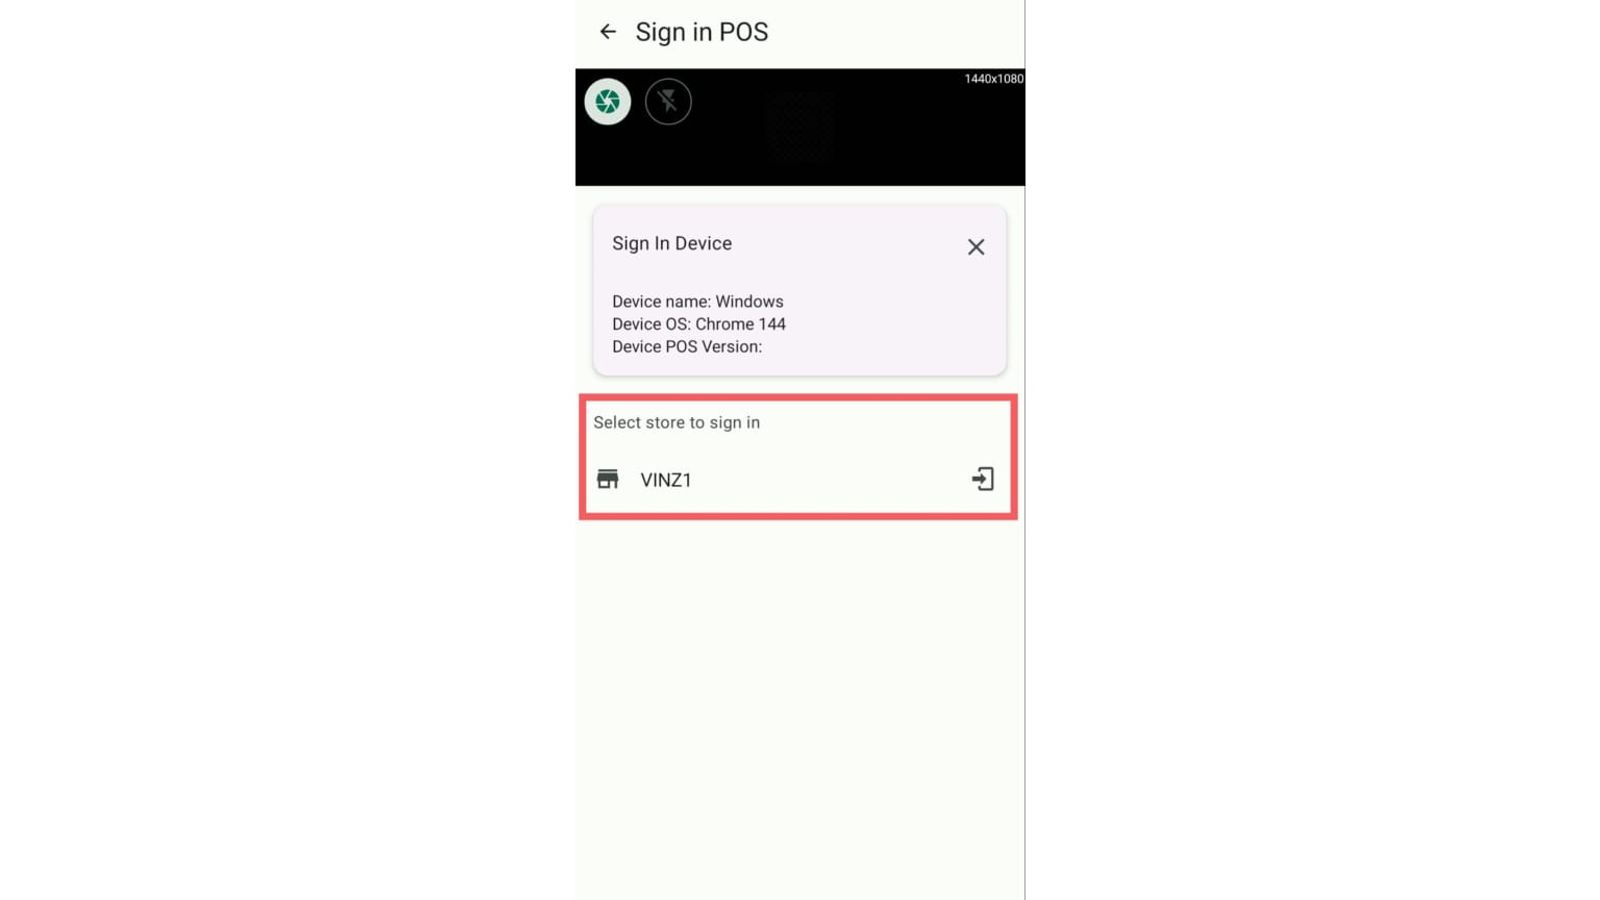
5. Select which POS Location (e.g., Downtown Branch) this device belongs to.
The POS screen will automatically refresh and log in.
2) Sign In by Code (Remote Authorization)
If you are at the office and need to authorize a tablet at a different location, use the pairing code.
- On the POS Device: Note the 8-digit code displayed on the login screen.
- On your Admin Dashboard:
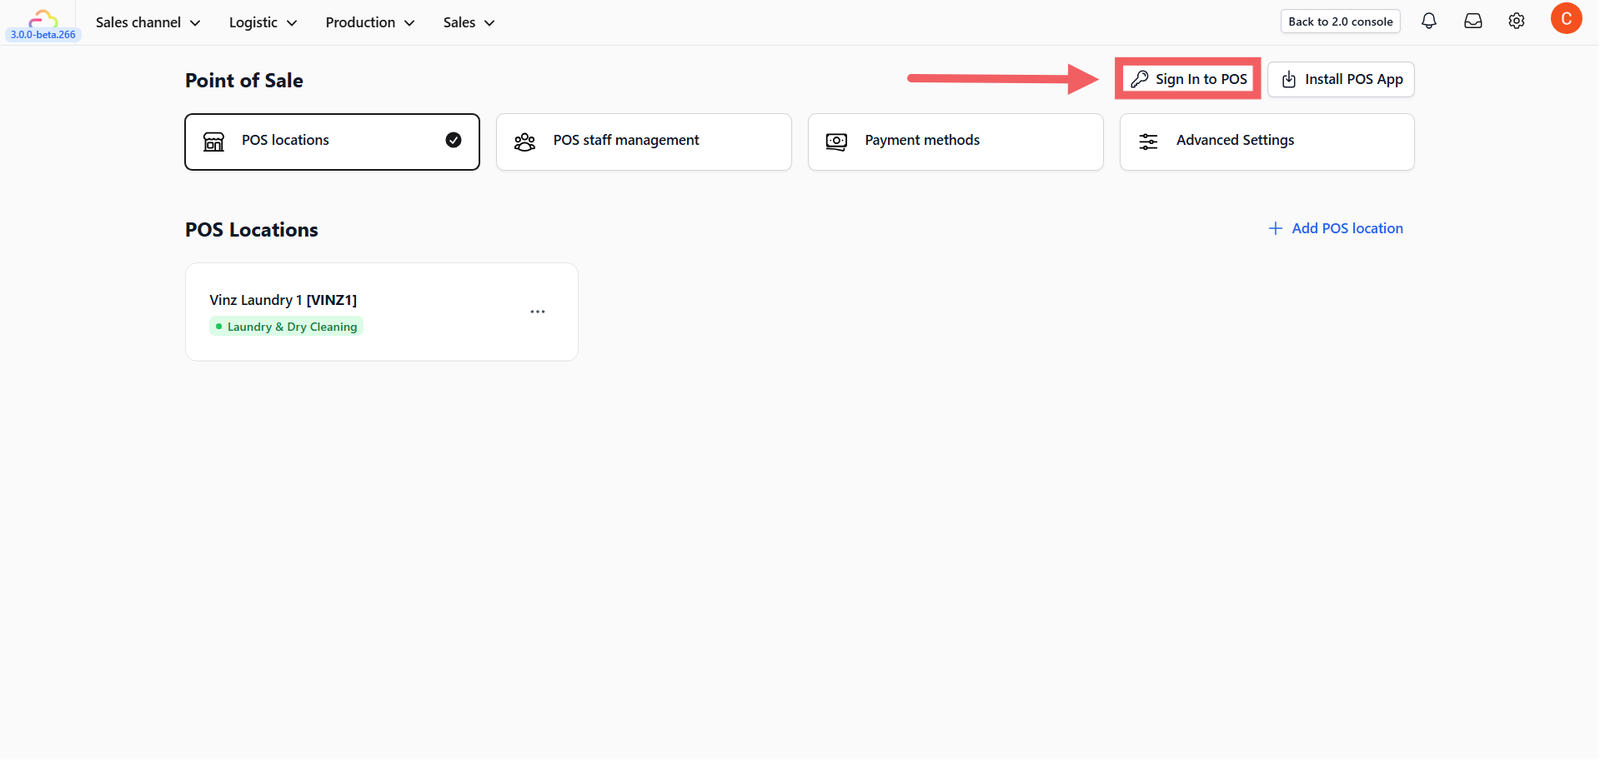
- Go to Sales Channel > Point of Sale.
- Click Sign in to POS button.
- Select the By Code tab.
3. Authorize:
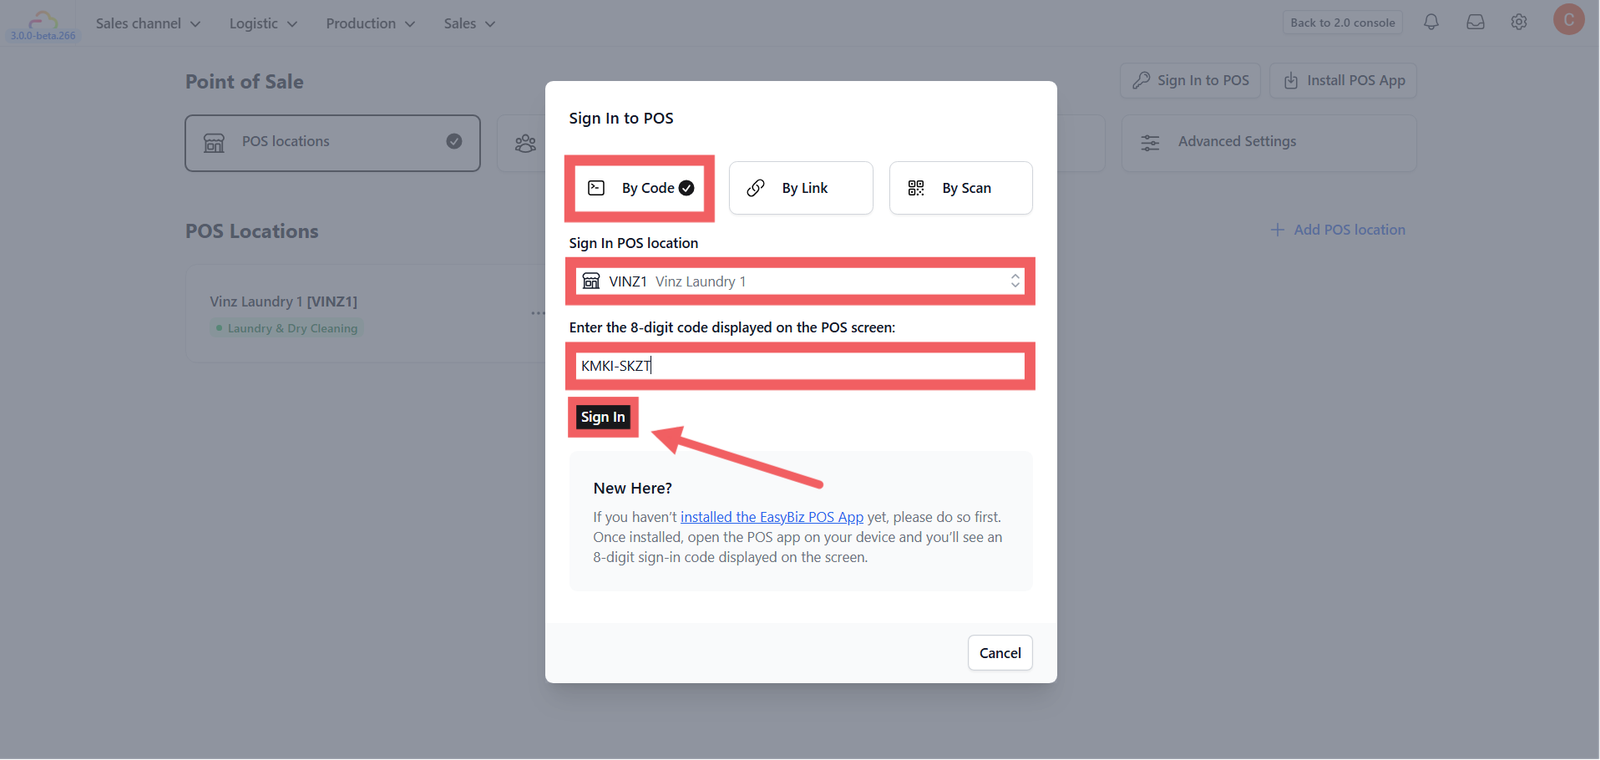
- Select the POS Location you want to authorize.
- Enter the 8-digit code from the POS device.
- Click the black Sign In button.
The remote device will instantly log in.
3) Auto Sign-in Link (Magic Link)
You can generate a permanent link that bypasses the login screen entirely. This is useful if you want to bookmark the direct access link on a specific device.
Generating the Link
You can find this in your POS Management menu:
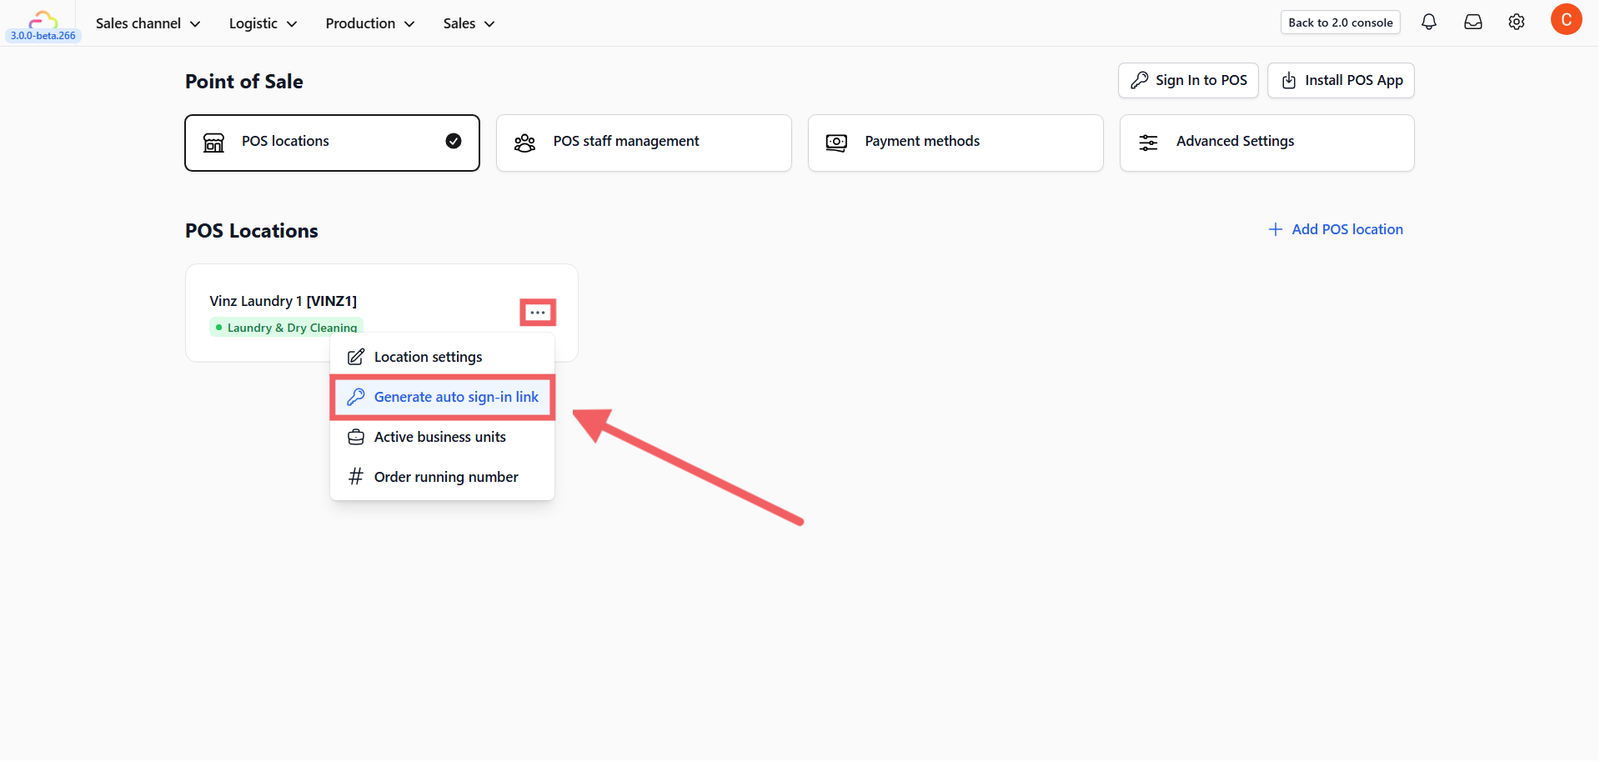
- Go to Sales Channel > Point of Sale.
- Locate the specific POS Location card (e.g., "Main Outlet").
- Click the Three Dots ... menu on that card.
- Select Generate Auto Sign-in Link.
Using the Link
- Copy the generated URL.
- Paste it into the browser on your POS device.
- The system will skip the authorization page and load the sales screen immediately.
Give feedback
Up next
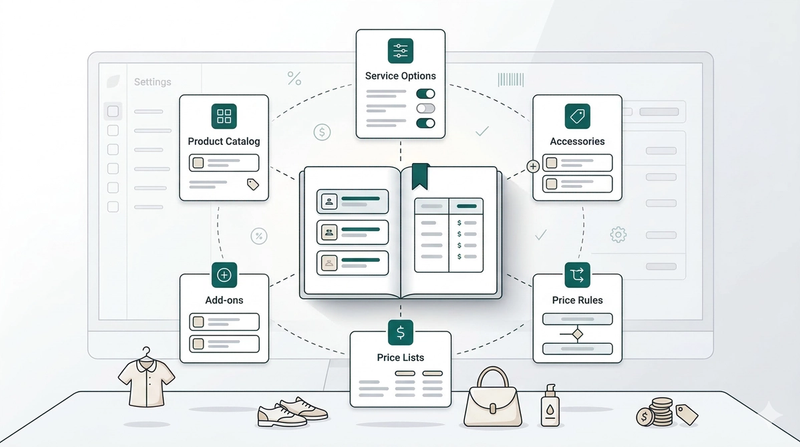
Products & PricingLearn how to organize your items, manage service options, and apply dynamic pricing rules to streamline your sales process.
Read more