Set up an Agent Workflow Account
In this article
If you want your agents to create orders on their own — whether through the console or on their phone using the Workflow App — they will need their own account. This guide walks you through how to set up a Workflow Account for your agents so they can log in and start working. This step is optional and only needed if your agents will be using the system directly.
Contents
Contents
Understanding Workflow Accounts
A Workflow Account gives your agent their own login to access the EasyBiz console and the Workflow App. Without this, agents cannot log in or create orders on their own, meaning your team would need to create orders on their behalf.
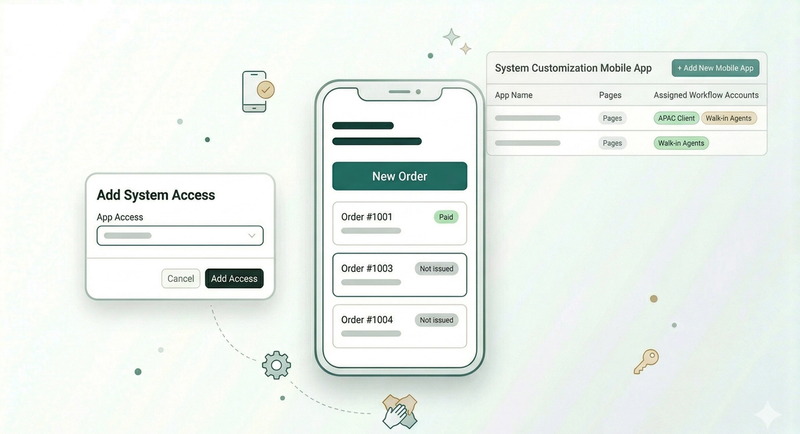
What is the Workflow App? The Workflow App is a mobile tool that allows your team to work on the go. Agents can create sales orders from their phones, while drivers use it to manage pickups and deliveries, ensuring a smooth and documented handover process.
What does this mean for your agents? With their own login, agents can sign into the console using their email and password. This gives them full visibility of their sales order records and the ability to create new orders directly.
Access the B2B Page
Start by navigating to your agent management area.
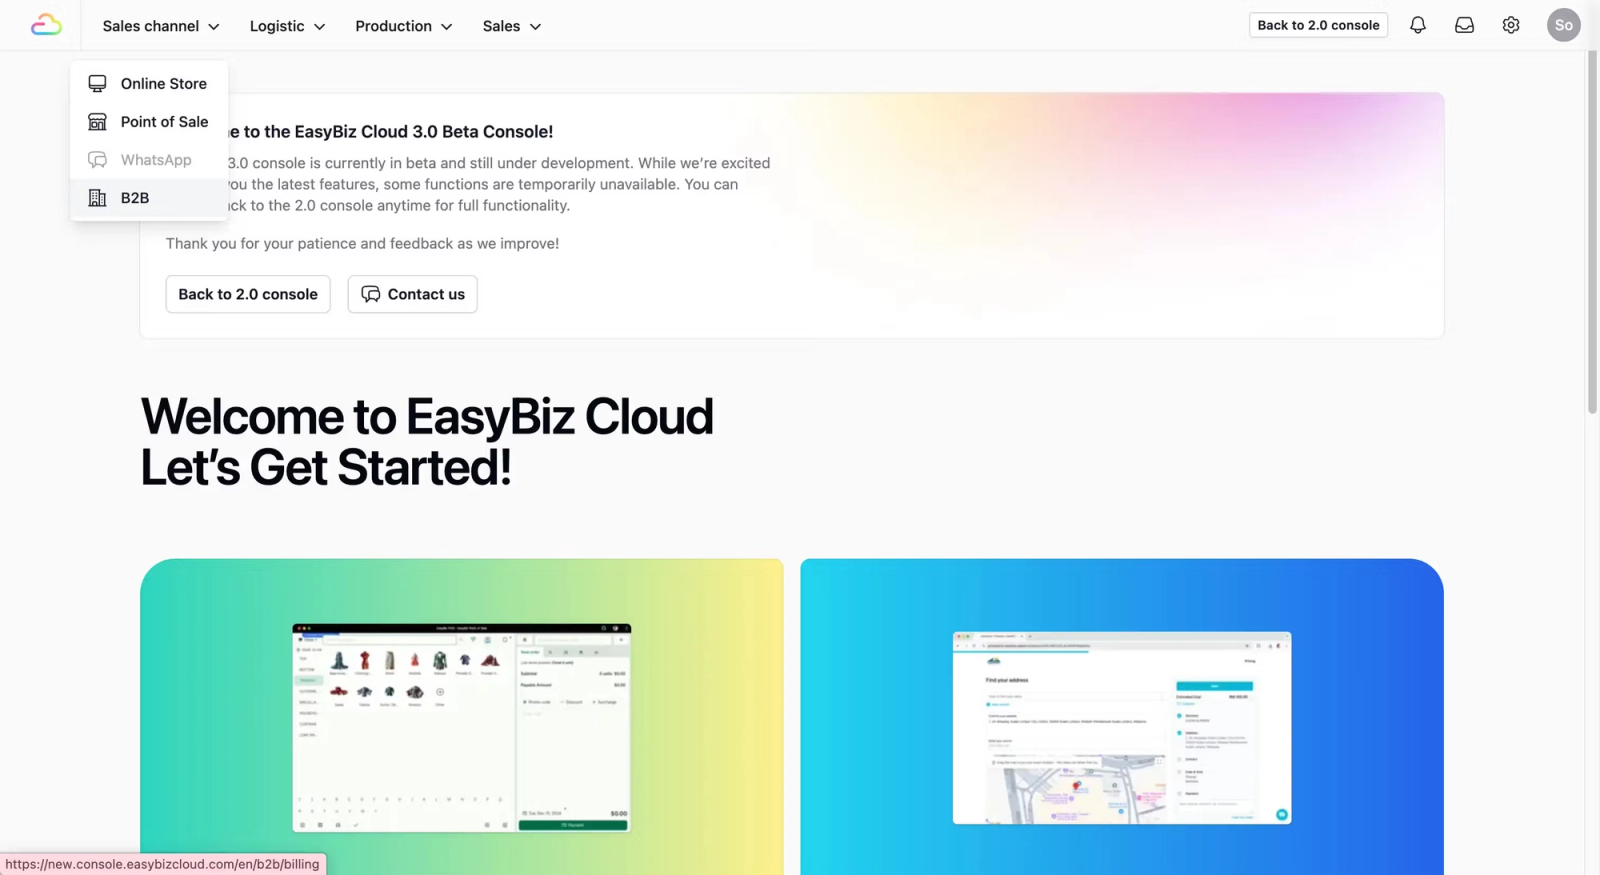
- Navigate to B2B: On the top navbar, click on Sales Channel. A dropdown list will appear, select B2B.
Create the Agent's Workflow Account
You must create the workflow account for each agent individually to grant them access.
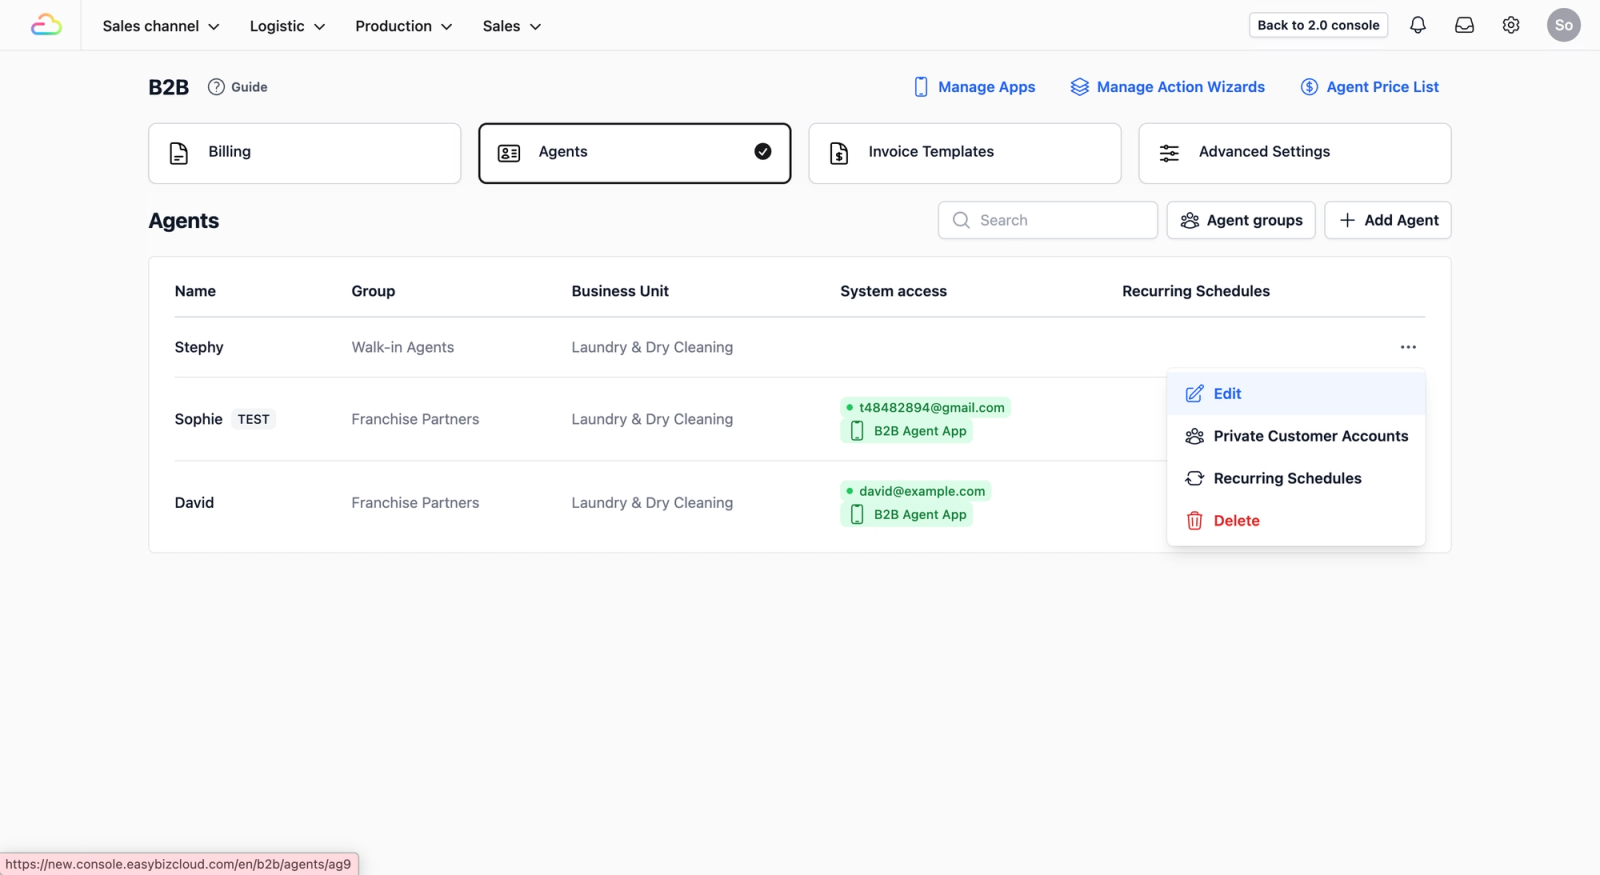
- Select Your Agent: Click on the Agents Tab. Find the agent you want to set up, click the ••• at the end of their row, and select Edit.
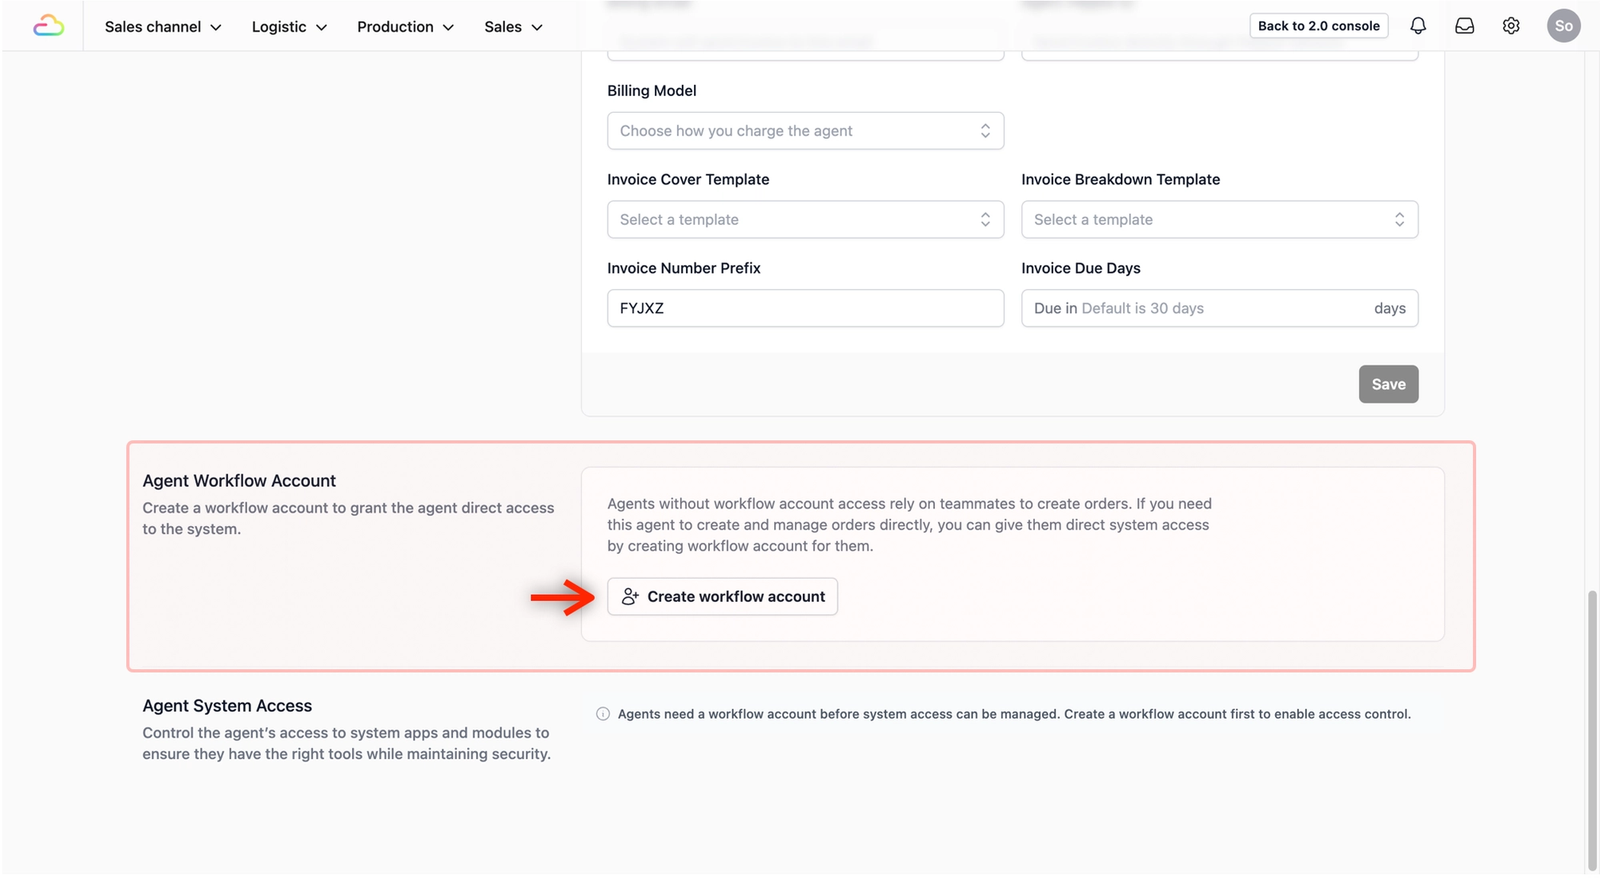
- Generate Account: Scroll down to the Agent Workflow Account section and click on the Create workflow account button.
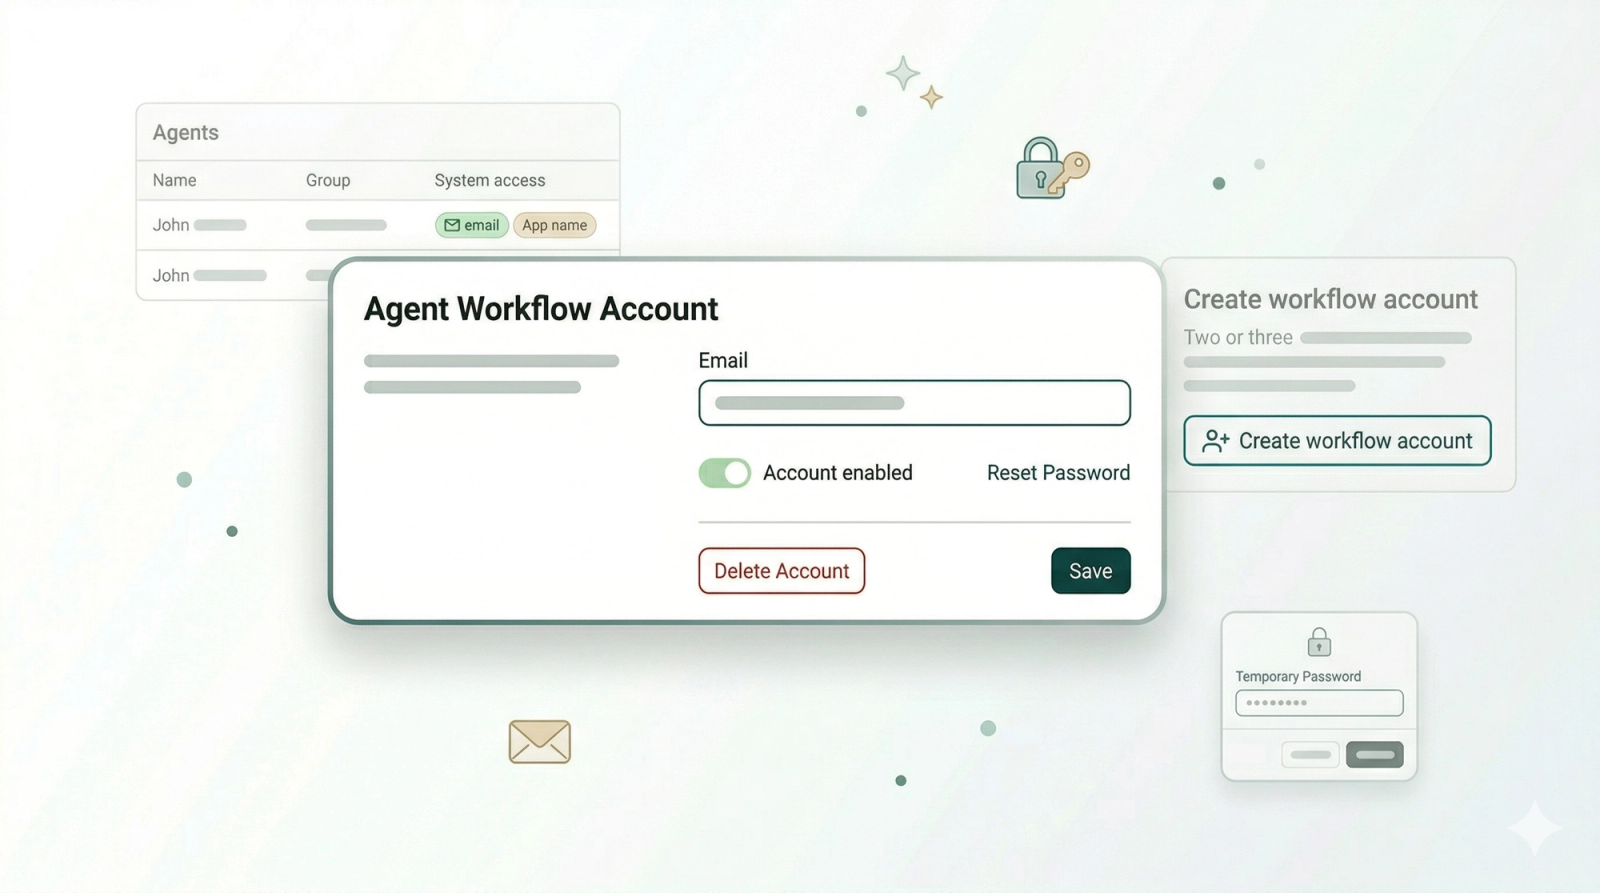
- A pop-up form will appear. Fill in the Details:
- Login email field: Enter the agent’s email.
- Login password field: We recommend leaving this field blank to generate a secure random password automatically. This acts as a temporary credential that the agent can change themselves once they log into the console for the first time.
- Create account: Click on the Create account button.
- Save the Temporary Password: Because the password was left blank, the system will now generate one for you. This appears as a pop-up and is the only time it will be visible.
Watch the video below to see the process of generating, capturing, and finalizing the account when leaving the password field empty:
IMPORTANT: Finalizing the Setup
Once the password pop-up appears (for the blank password method), follow these final steps immediately:
- Copy the Password: Copy the displayed password immediately and save it somewhere safe. It will not be shown again once the window is closed.
- Share with Agent: Send this temporary password to your agent. This will allow them to log into the console and workflow app that can be assigned to them. To learn more, check out the next guide: Create Agent Apps →
- Close: Click on the Close button. The Agent Workflow Account section will now be populated with the current email address tied to it.
Give feedback
Up next
Create Agent AppsCreate an app for your agents so they can manage their customers and create orders from their phone.
Read more