Setting Up Event Notifications
In this article
In the modern service industry, customers expect to be updated at every step, just like when they order a ride or food delivery. "Silence" makes customers anxious. Event Notifications allow you to bridge this communication gap automatically. By linking specific system events (like "Order Finished") to instant messages (WhatsApp/Email), you create a transparent and professional experience.
Contents
Contents
Why Use Event Notifications?
- Build Customer Trust: When a customer receives an instant "Order Confirmed" or "Driver on the way" message, they feel reassured that their service is being handled professionally.
- Reduce "Where is my order?" Calls: By proactively updating customers, you drastically reduce the number of support calls and messages inquiring about status.
- Streamline Internal Ops: Don't just notify customers—notify your team. Automatically alert your driver when an order is packed, or alert the manager when a refund is processed.
The Notifications Dashboard
Navigate to Settings > Automation > Event Notification. Here, the dashboard is divided into two distinct tabs:

- Customer Notification: Alerts sent to the client (e.g., Order Confirmation).
- Internal Notification: Alerts sent to your staff or admin (e.g., New Order Alert).
Adding a Customer Notification

To automate messages for your clients:
- Ensure you are on the Customer Notification tab.
- Click the + Add Notification button.
A. Select the Trigger Event
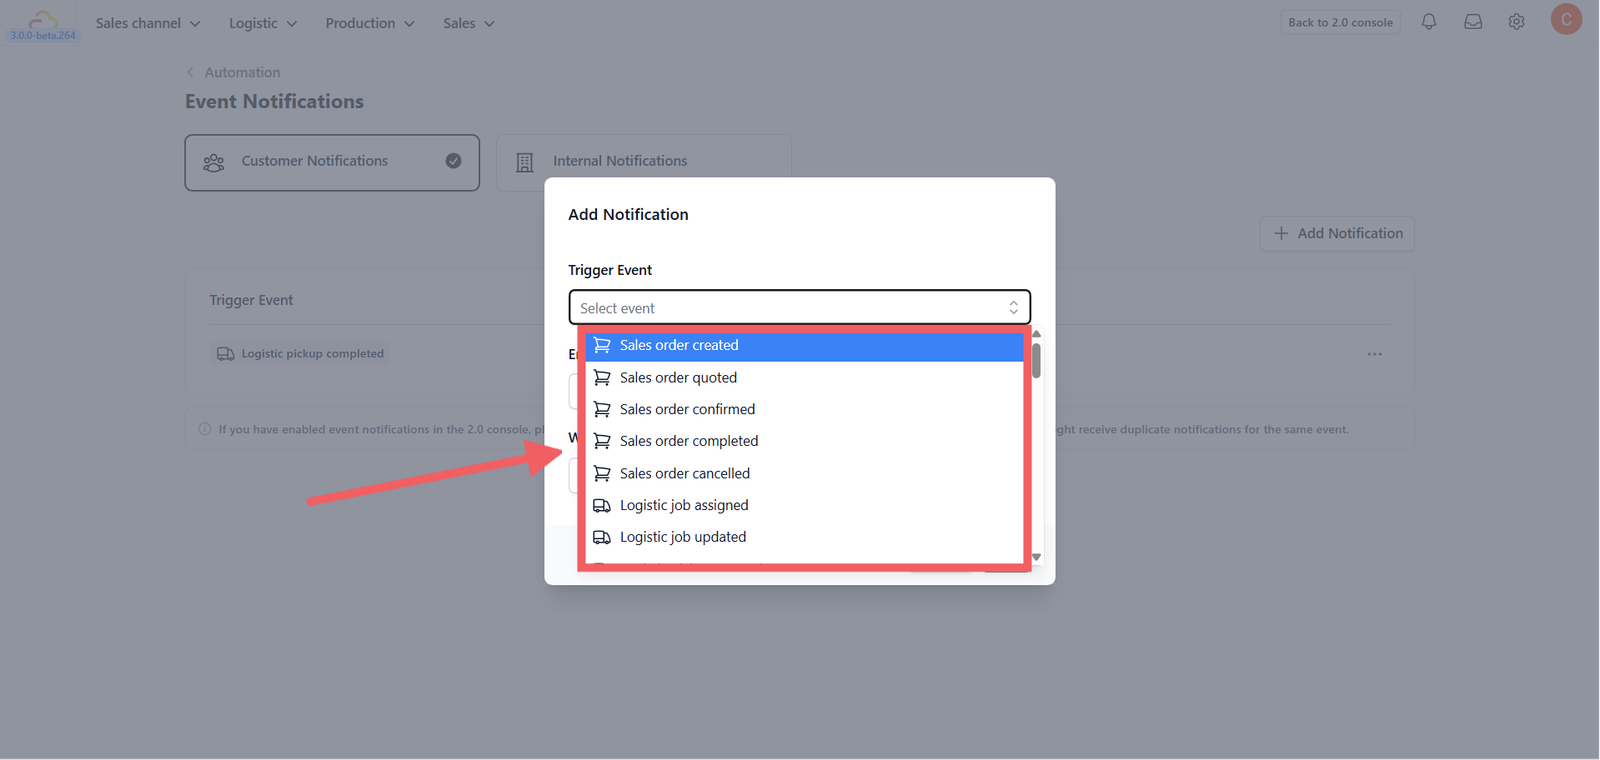
A pop-up will appear. First, choose the Trigger Event. This is the specific action that causes the message to send. Common triggers include:
- Order: Order Created, Order Cancelled.
- Payment: Payment Successful, Refund Issued.
- Logistics: Ready for Collection, Driver Assigned, Order Completed.
- Membership: Member Registered, Points Top-up.
B. Select Message Templates
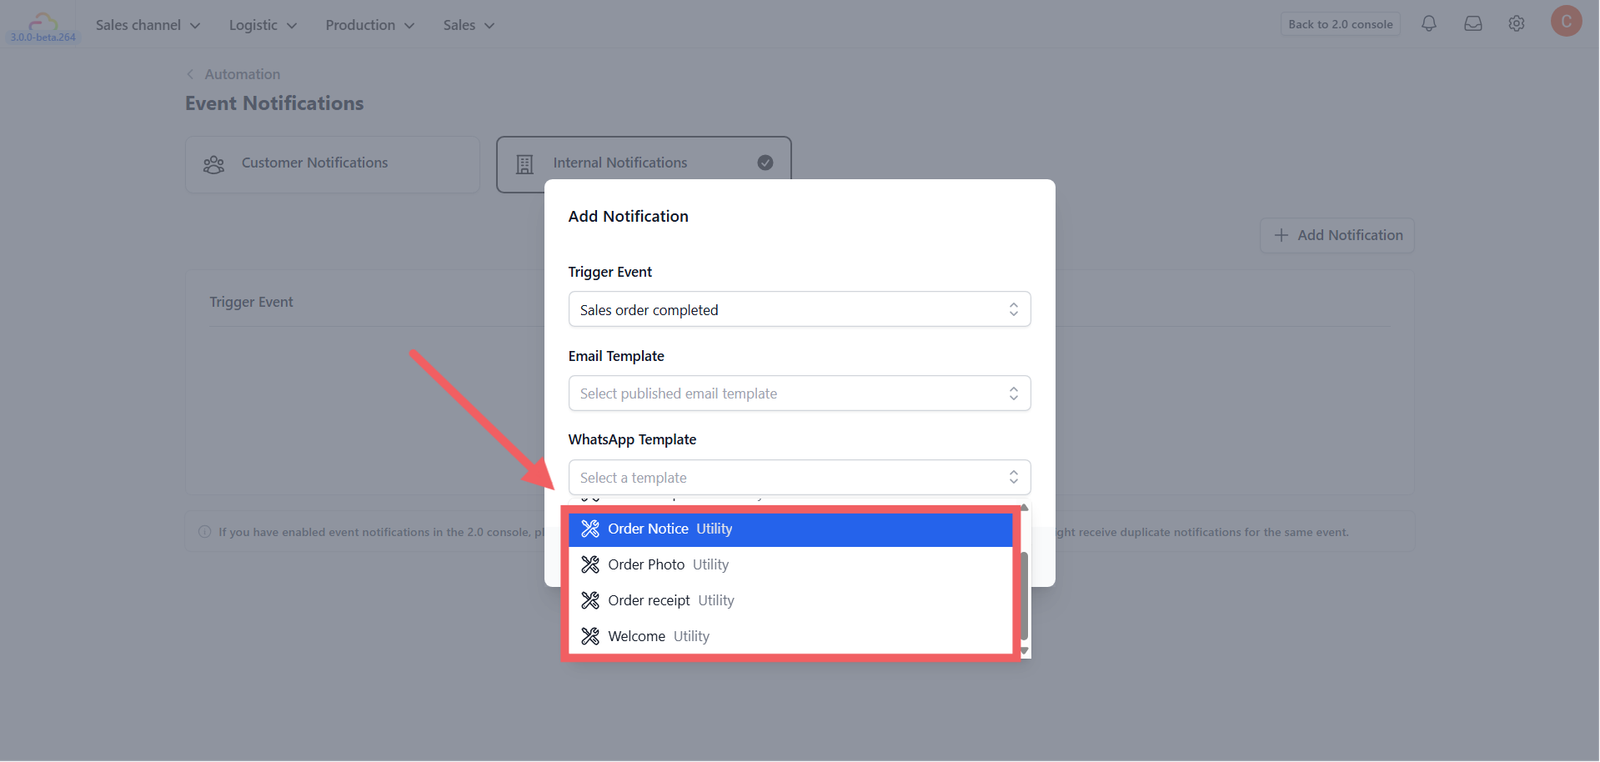
Once the trigger is set, choose the content to send:
- Email Template: Select a pre-designed email.
- WhatsApp Template: Select an approved WhatsApp template.
Adding an Internal Notification
If you want your staff to be alerted when important things happen:
- Switch to the Internal Notification tab.
- Click + Add Notification.
- The process is the same: Select a Trigger (e.g., "Order Created" - so the kitchen knows to start preparing) and choose the notification method.
Save & Activate
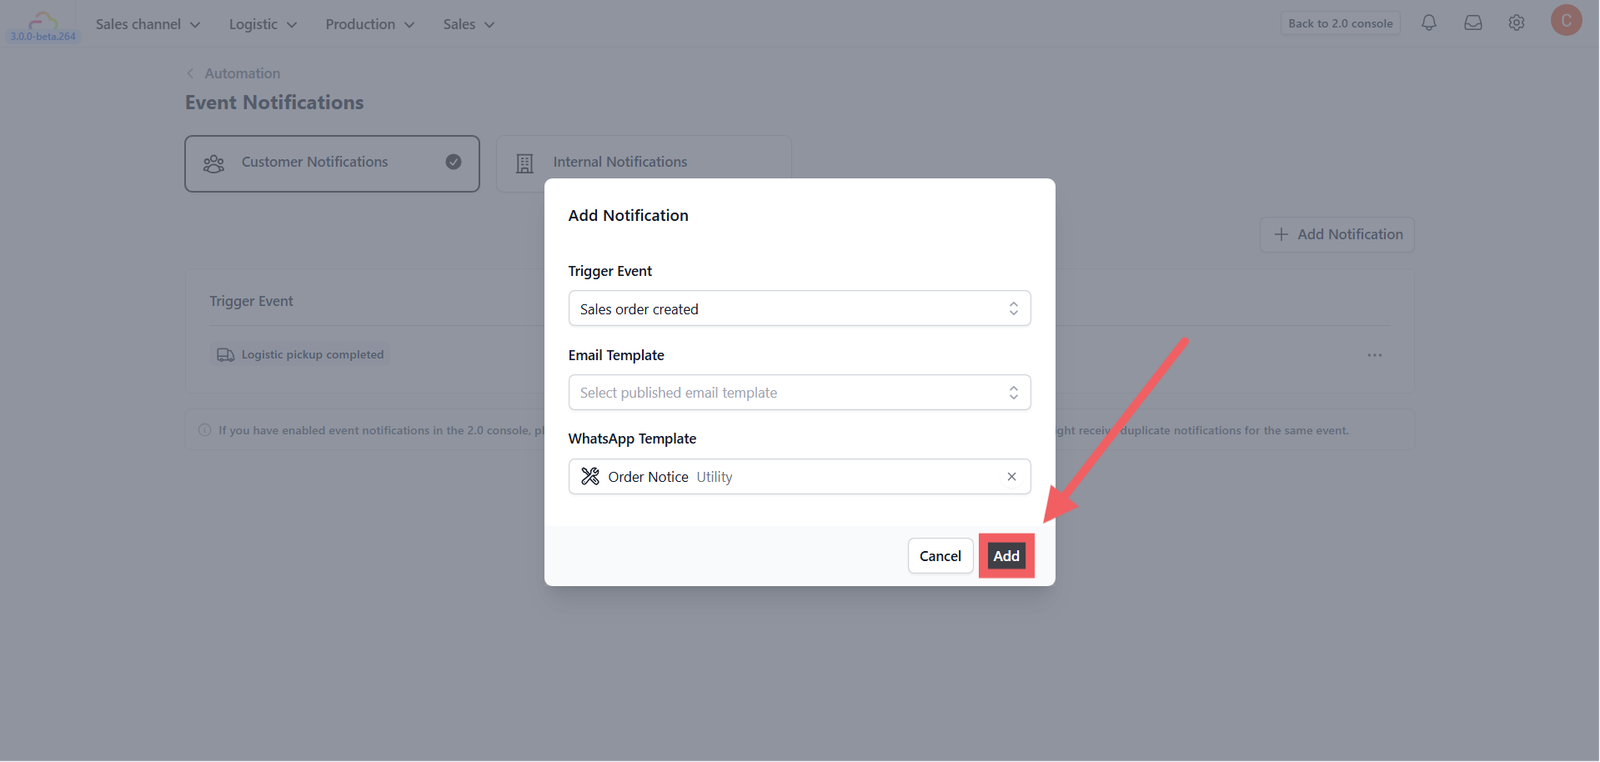
Click Add (or Save) to finish.
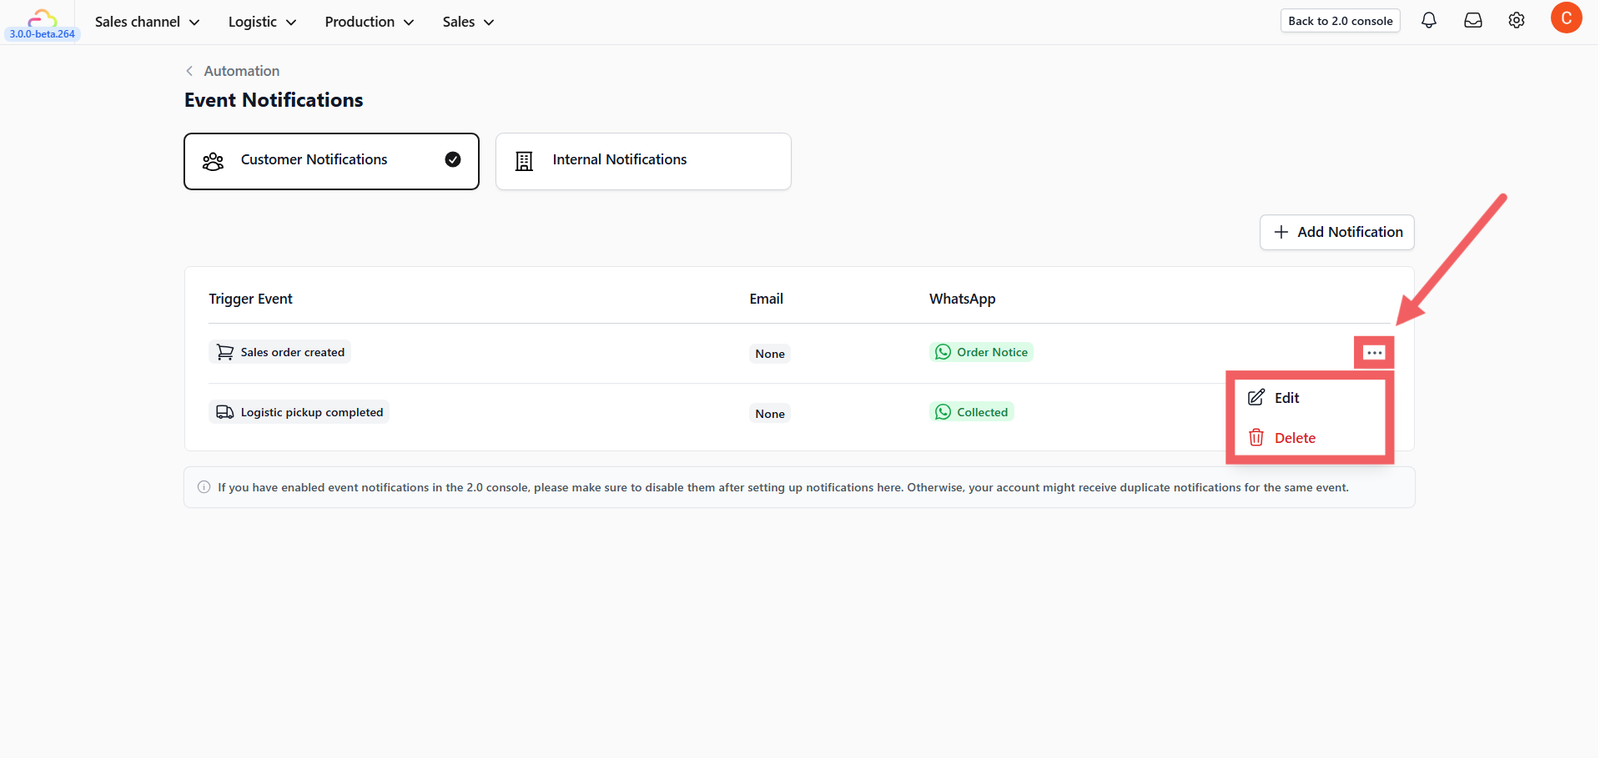
Your new automation will appear in the list. Delete or Edit anytime using Three-dot Menu (⋮) on the right of each row.
Give feedback
Up next
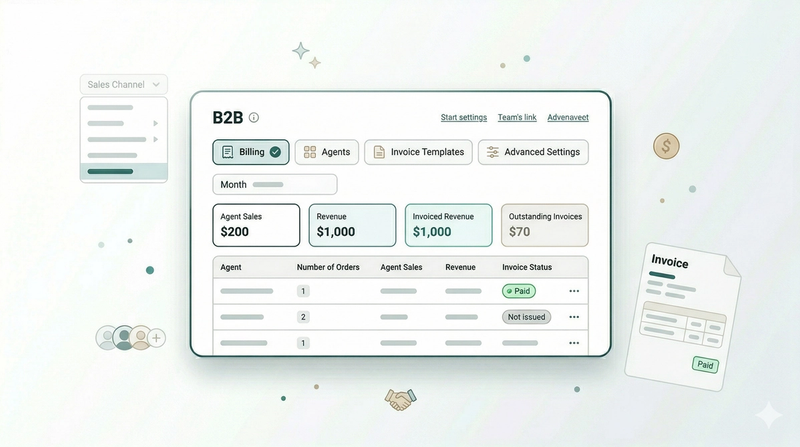
B2B OperationsSet up and manage the people and partners who bring orders to your business, from adding them to billing them.
Read more