Set up Credit Top-Up on your POS
In this article
This guide walks you through setting up the Credit Top-Up page on your POS. Once configured, your customers will be able to prepay for services by loading store credit — either by choosing a preset top-up package or entering a custom amount. This is an optional feature that works great for regular customers who visit frequently.
Contents
Contents
What Is Credit Top-Up?
The Credit Top-Up screen lets your customers prepay for services by loading store credit onto their account. Instead of paying for each visit separately, a customer can top up once and pay from their balance each time they come in.
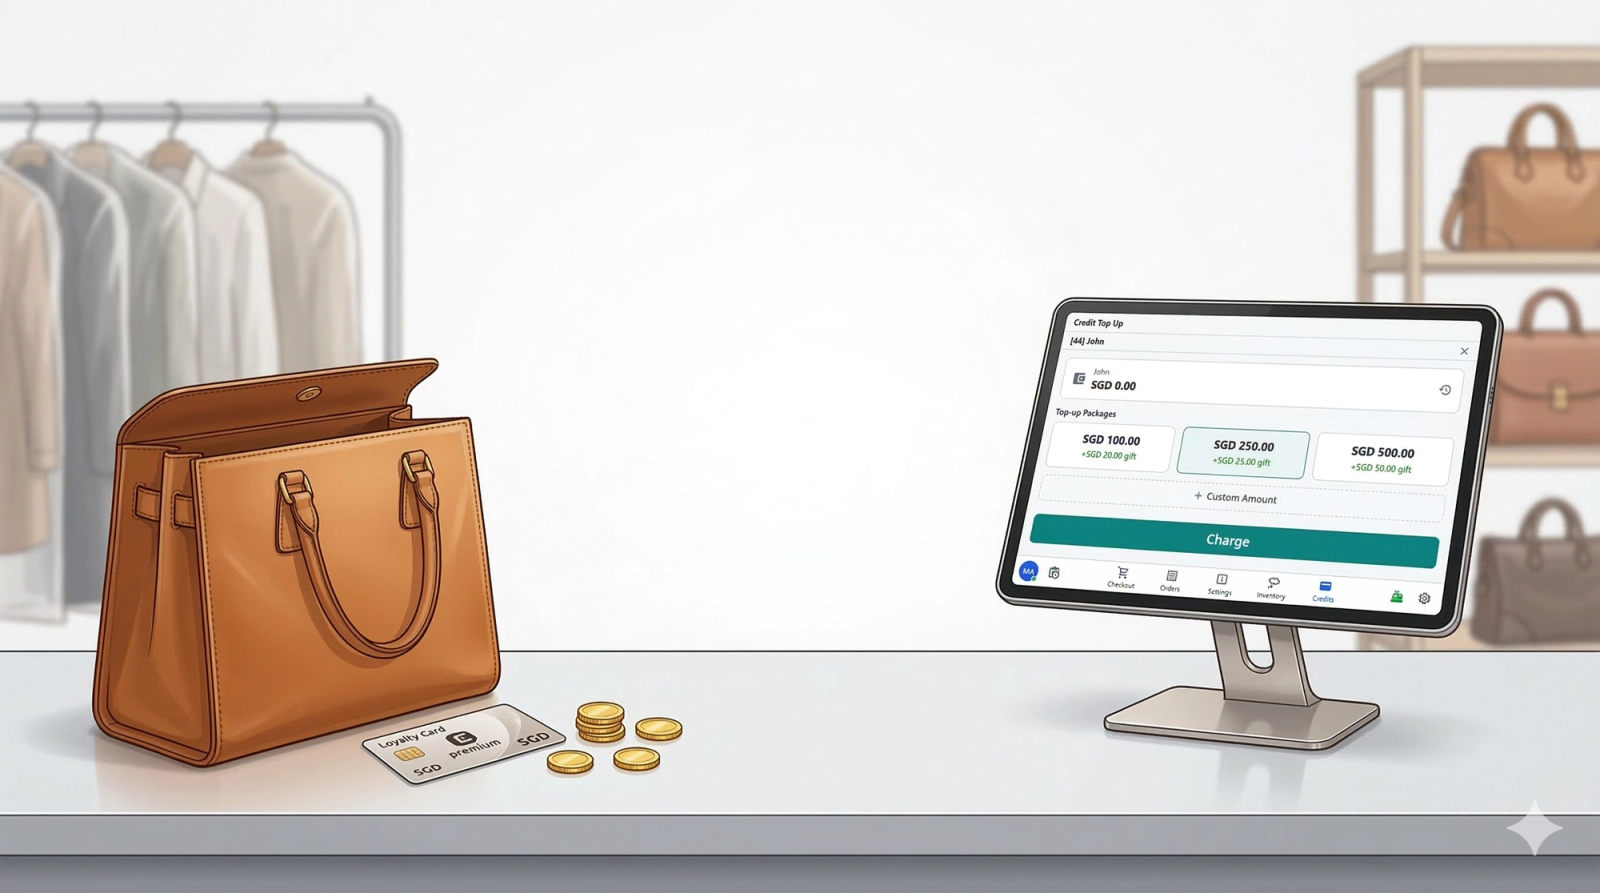
Here is what the Credit Top-Up screen looks like on your POS:
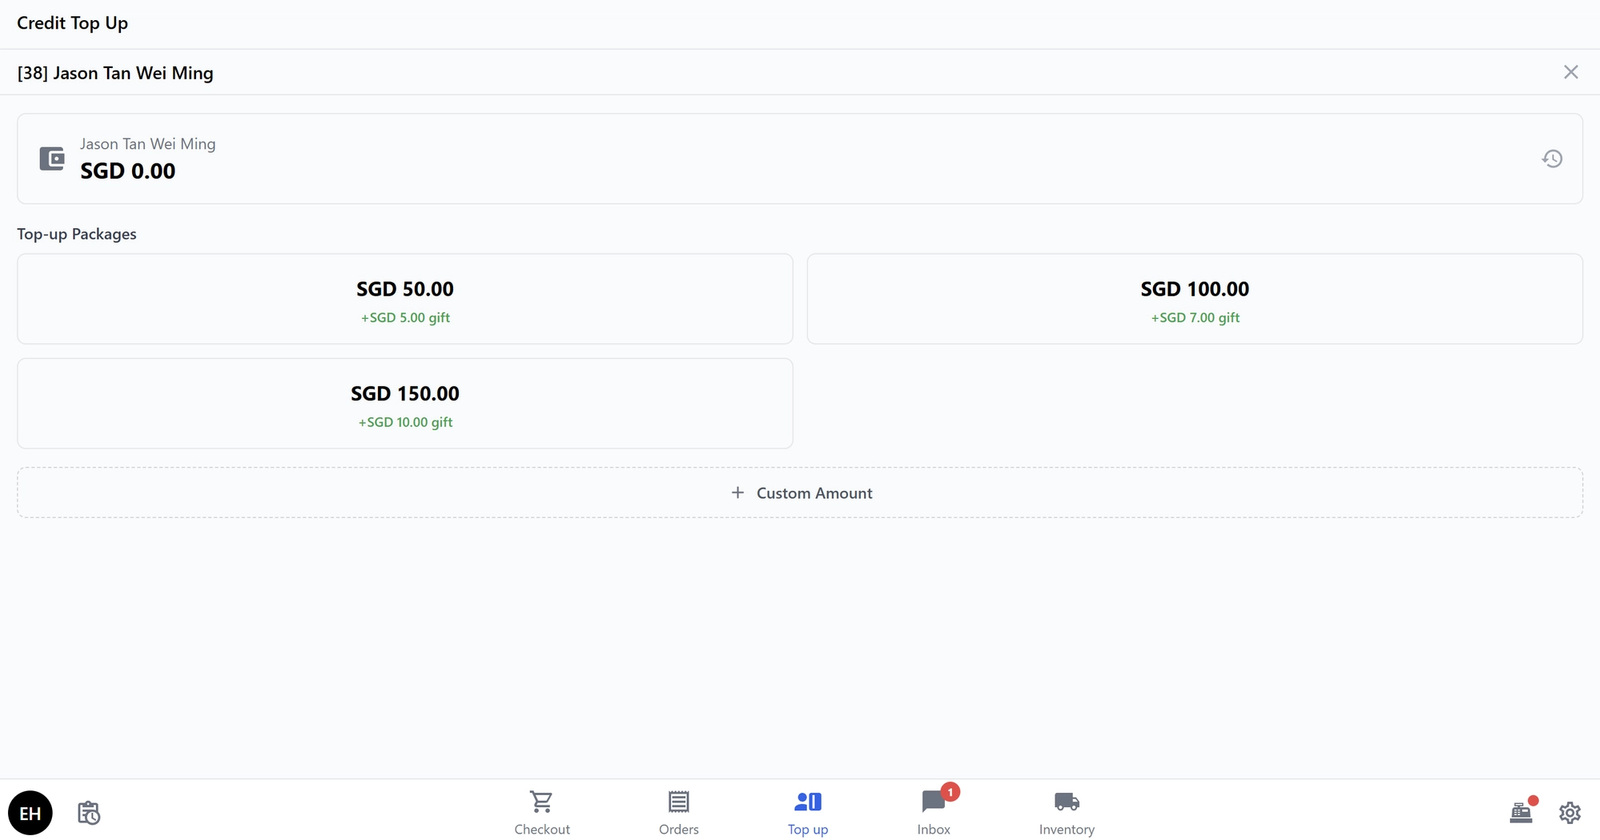
This is especially useful for regular customers — they can top up a larger amount upfront and get a bonus (for example, top up SGD 100 and get an extra SGD 7 as a gift). It saves time at checkout and encourages repeat visits.
Before You Start
Before setting up Credit Top-Up, make sure you have the following ready:
- Your POS app is already created — You should have completed the main POS setup guide first. If you have not set up your POS yet, follow our Set up your Laundry POS/Set Up Your Bag Repair POS guide (or the equivalent guide for your business type) before continuing.
- Store Credit payment method is enabled — In your Payment block settings, make sure Store Credit is turned on under the In-House payment methods. Without this, customers will not be able to pay using their topped-up balance at checkout.
How to enable Store Credit under In-House payment methods
Configure the Credit Top Up Block
Now let us configure the Credit Top Up block itself. This is where you control the top-up packages, gift amounts, and other settings.
Go to the Blocks tab. Create a block called Credit Top Up, then click on it to open its settings.
You will see the following settings:
Allow Custom Amount Entry
This toggle controls whether customers can enter any amount they want, or if they are limited to the preset packages only.
- Allow Custom Amount Entry: ON
When this is turned on, your staff will see an option to type in a custom amount in addition to the preset packages. This is useful when a customer wants to top up an amount that does not match any of your packages (for example, SGD 75 or SGD 200).
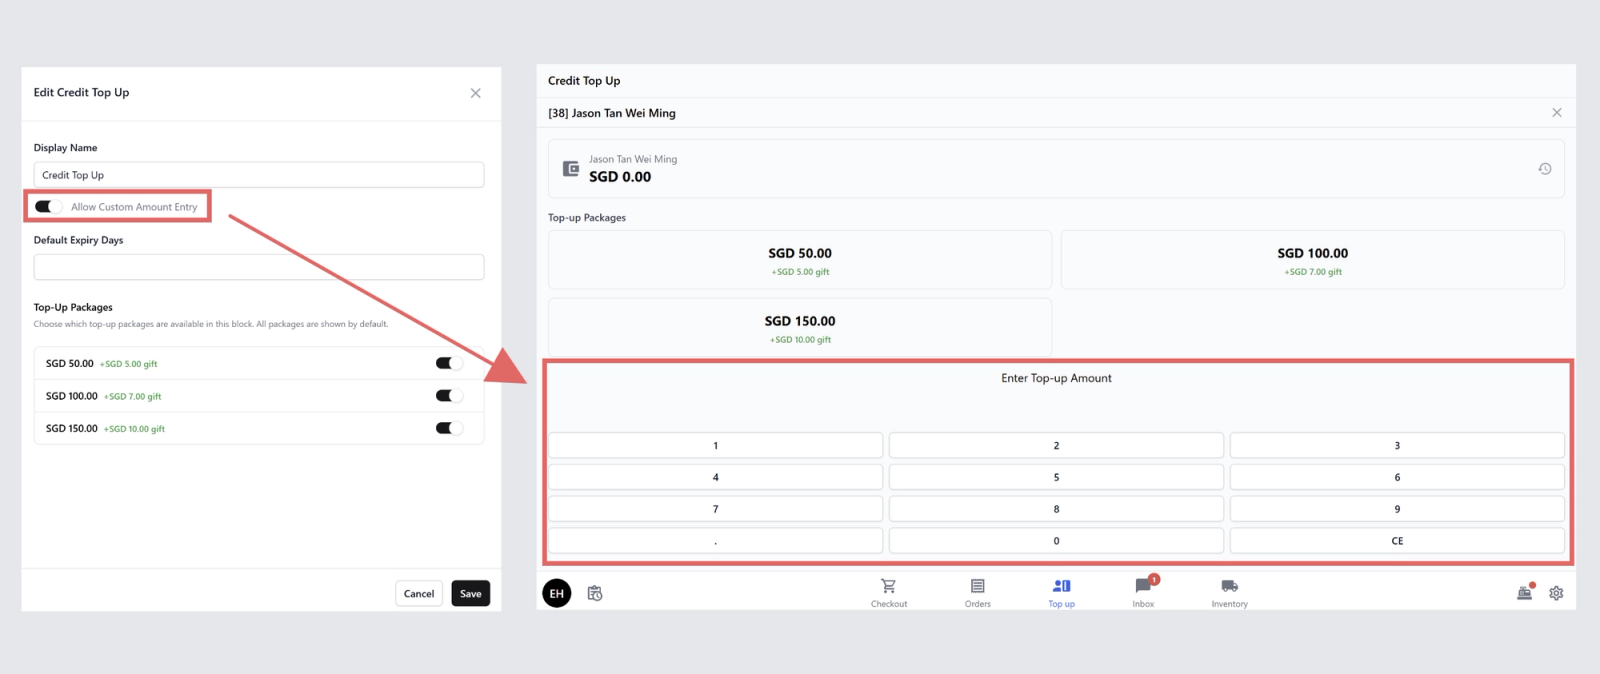
If you turn this off, customers can only choose from the preset packages listed.
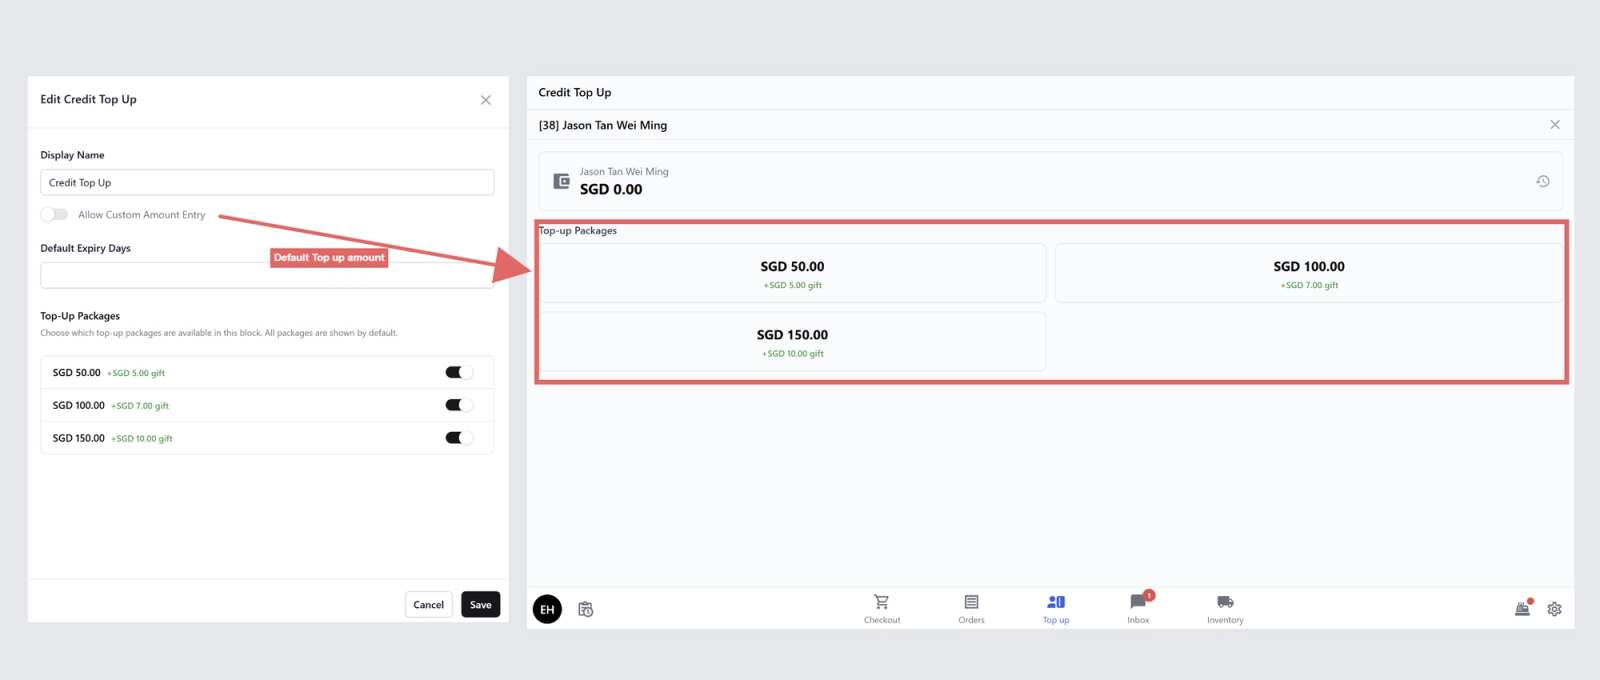
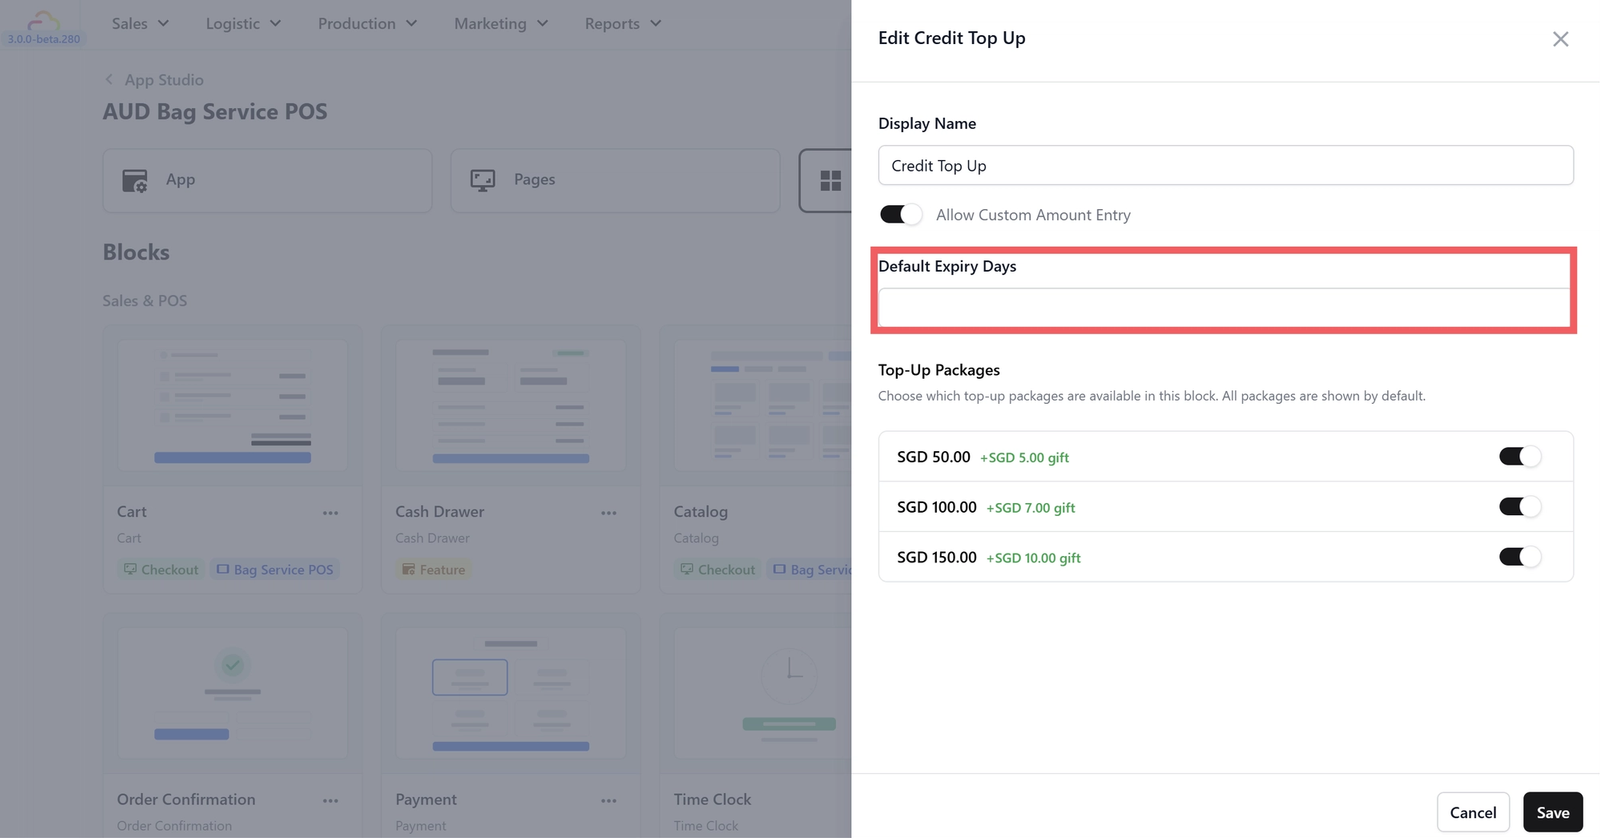
Default Expiry Days
This field controls whether store credit expires after a certain number of days.
- Default Expiry Days: (empty)
When this field is empty, store credit does not expire — the balance stays on the customer's account until they use it. If you want credits to expire (for example, after 365 days), enter that number here.
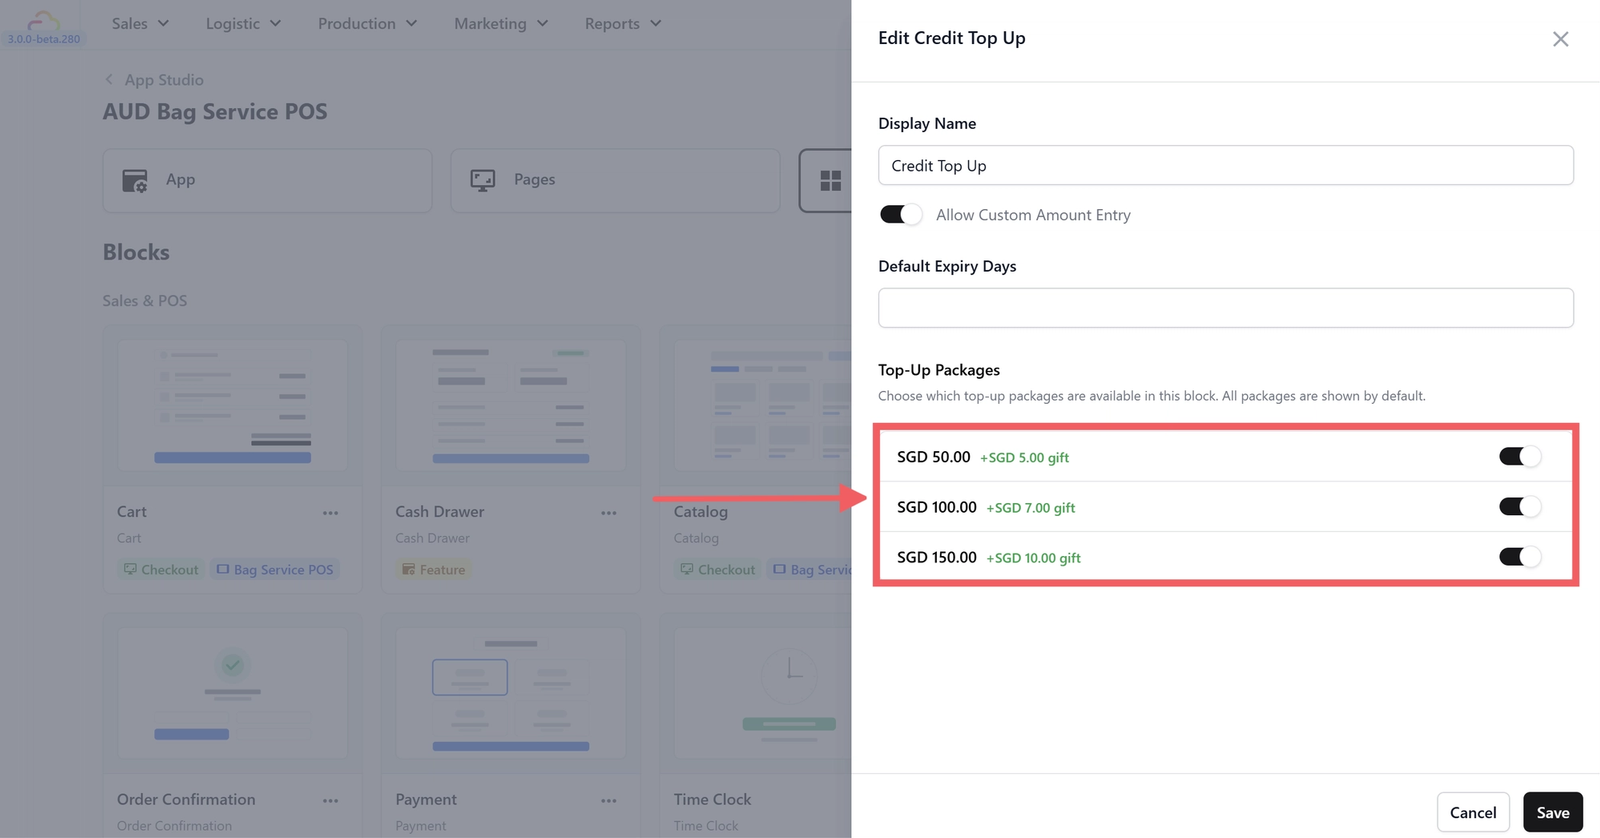
Top-Up Packages
These are the preset amounts your customers can choose from when topping up. Each package can include a gift amount — a bonus that gets added to the customer's balance as an incentive to top up more.
Your POS comes with three packages pre-configured:
- SGD 50.00 — Gift: +SGD 5.00 — Enabled: ON
- SGD 100.00 — Gift: +SGD 7.00 — Enabled: ON
- SGD 150.00 — Gift: +SGD 10.00 — Enabled: ON
This means if a customer chooses the SGD 100 package, they pay SGD 100 but their balance becomes SGD 107 (the extra SGD 7 is a bonus gift).
You can customise these packages to suit your business:
- Change the amounts — Edit the top-up values to match what makes sense for your price range. If your average service costs SGD 30, a SGD 50 starter package makes sense. If your services are higher-end (SGD 100+), you might want packages starting at SGD 200.
- Adjust the gift amounts — The gift is your incentive. A common approach is to offer roughly 5–10% bonus (for example, SGD 5 gift on a SGD 50 top-up is 10%).
- Turn packages on or off — Use the toggle next to each package to enable or disable it. You do not need to delete a package to hide it — just turn it off.
- Add more packages — You can add additional packages if three is not enough.
Review the Top-Up Page Setup
Your POS template already comes with a Top-Up page pre-configured. Let us check that it is set up correctly.
Go to App Studio in your EasyBiz Console and open your POS app. Click on the Pages tab and find the page called Top-up.
You should see the following:
- Type: Custom
- Layout: Single
- Main Block: Credit Top Up
Since this is a single-layout page (not a split layout), the entire screen is dedicated to the Credit Top Up block. You do not need to change anything here — just make sure the Credit Top Up block is assigned.
Link the Top-Up Page to Your POS
Now that your Credit Top Up block and page are configured, you need to make sure the Top-Up page is linked as a tab in your POS app so your staff can access it.
Go to the App tab in App Studio. You will see a Navigation Tabs section — this is where you control which tabs appear at your POS screen.

Check if there is a tab with the following:
- Icon: (top-up/credit icon)
- Label:
Top up - Linked Pages: Top-up
If the Top-up tab is not listed, click + Add Tab at the bottom of the list to add it. Choose an icon, set the label to "Top up", and link it to the Top-up page you just reviewed.
You can also drag the tabs to reorder them — the order here is the order your staff will see at the bottom of the POS. For example, you might want Checkout and Orders first, followed by Top up.
How Credit Top-Up Works in Practice
Once everything is set up, here is how your staff will use the Credit Top-Up screen day to day:
- A customer asks to top up their account.
- Your staff taps the Top-up tab at the bottom of the POS.
- The customer chooses a package (for example, SGD 100 + SGD 7 gift) or your staff enters a custom amount.
- The customer pays using any of your enabled payment methods (cash, card, PayNow, etc.).
- The topped-up amount (plus any gift bonus) is added to the customer's store credit balance.
- Next time the customer visits, your staff can apply their store credit at checkout.
Quick Reference
Here is a quick summary of the Credit Top-Up settings:
- Allow Custom Amount Entry — ON lets customers top up any amount; OFF limits them to preset packages only.
- Default Expiry Days — Leave empty for no expiry, or enter a number to set how many days before credit expires.
- Top-Up Packages — Preset amounts with optional gift bonuses. Enable or disable each package as needed.
- Payment — Customers pay for top-ups using your enabled payment methods (cash, card, etc.). The balance is stored as store credit.
- Using credit — At checkout, staff selects Store Credit as the payment method to apply the customer's balance.
What's Next?
Your Credit Top-Up page is set up and ready to go. Here are some other optional POS features you might want to set up:
- Set up your Inventory page — Track stock levels for physical products you sell alongside your services.
- Set up your Inbox page — Manage customer conversations from WhatsApp and other messaging channels directly in your POS.
Give feedback
Up next
Set up your Inbox on your POSManage customer conversations from WhatsApp and other messaging channels directly from your POS. This guide shows you how to set up the Inbox page with AI-powered reply suggestions.
Read more