Sign In to Your POS

In this article
Now that you have set up your POS app, the next step is to sign in your POS device so your staff can start using it at the shop counter. This links the device at your counter to the right POS Shop and app in EasyBiz. You can do this by entering a code from the device, or by sending a sign-in link directly to it.
Contents
Contents
Before You Start
Before signing in to your POS, make sure you have the following ready:
- A POS device: This is the device your staff will use at the counter (for example, a tablet, laptop, or computer). Once the POS is opened on the device, it will show an 8-characters sign-in code on the screen. For the full list of supported devices and hardware requirements, see What You Need Before Setting Up Your POS
- A configured POS app: You need to have already set up a POS app for your business. If you have not done this yet, follow our guide on Create Your POS App first.
- A POS shop: Your device needs to be assigned to the shop where it will be used. If you have not added one yet, follow the POS shop setup guide first.
How POS Sign-In Works
Here is how the sign-in process works at a glance:
- Your staff opens the POS app on their device (for example, a tablet at the counter). The screen shows an 8-characters sign-in code.
- Your staff sends this code to you (for example, by taking a photo and sending it over WhatsApp).
- In the EasyBiz 3.0 Console, go to Settings, open Point of Sale under Sales Channels, then click Sign in to a shop POS.
- Once you click Sign In, the POS device is authorized and your staff can start using it.
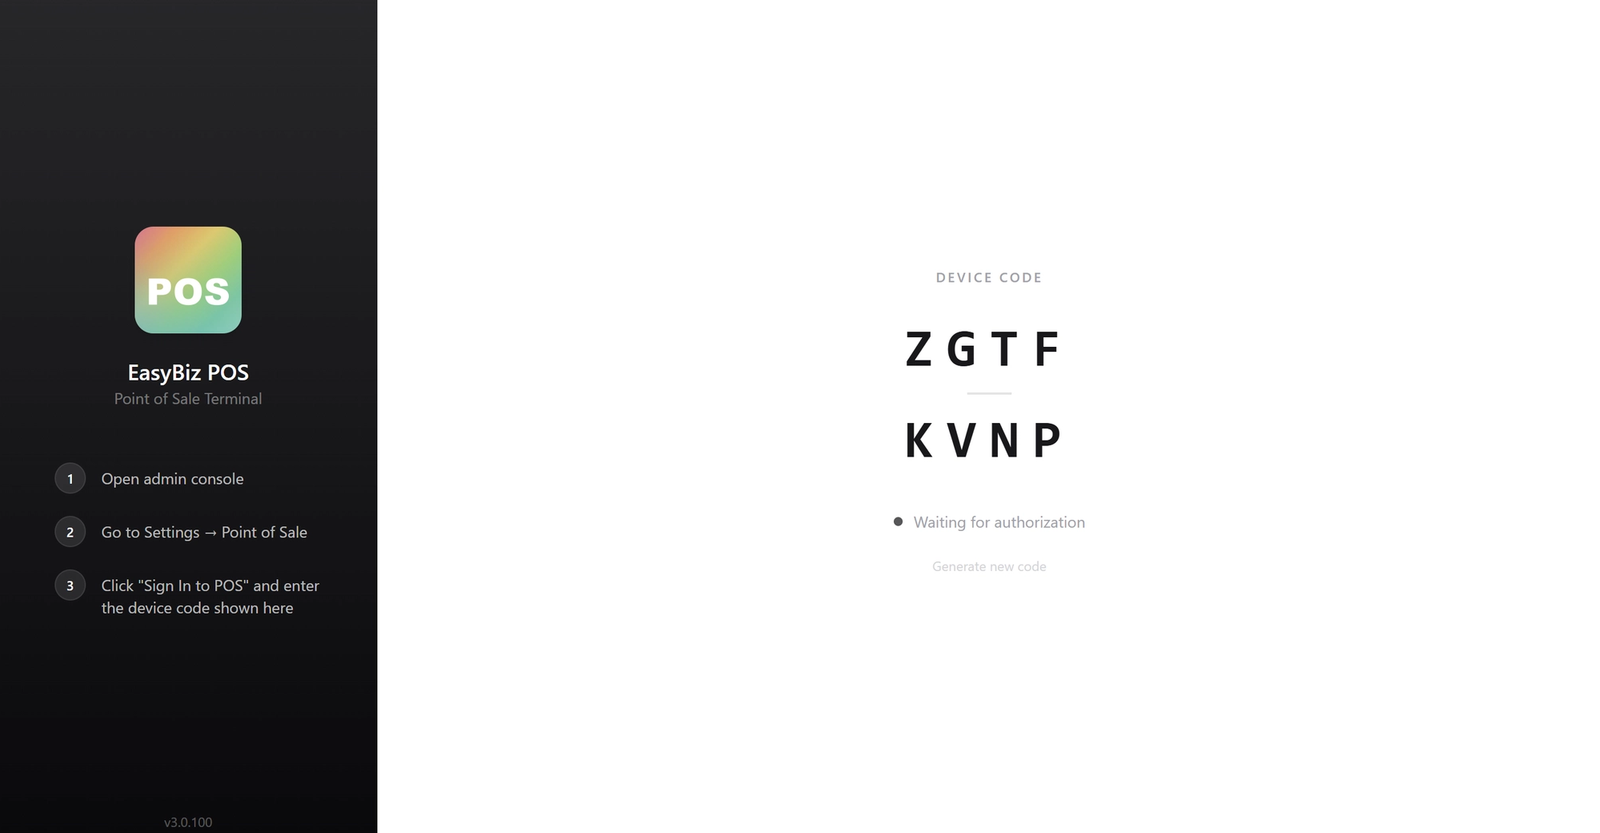
What Your Staff Sees
When your staff opens the POS app on their device, they will see a screen that says "EasyBiz POS" with a large 8-characters code (for example, XXXX-YYYY).
- Your staff needs to send you this code.
Enter the Code in the Console
Once you have the code from your staff, head over to the EasyBiz Console to authorize the device.
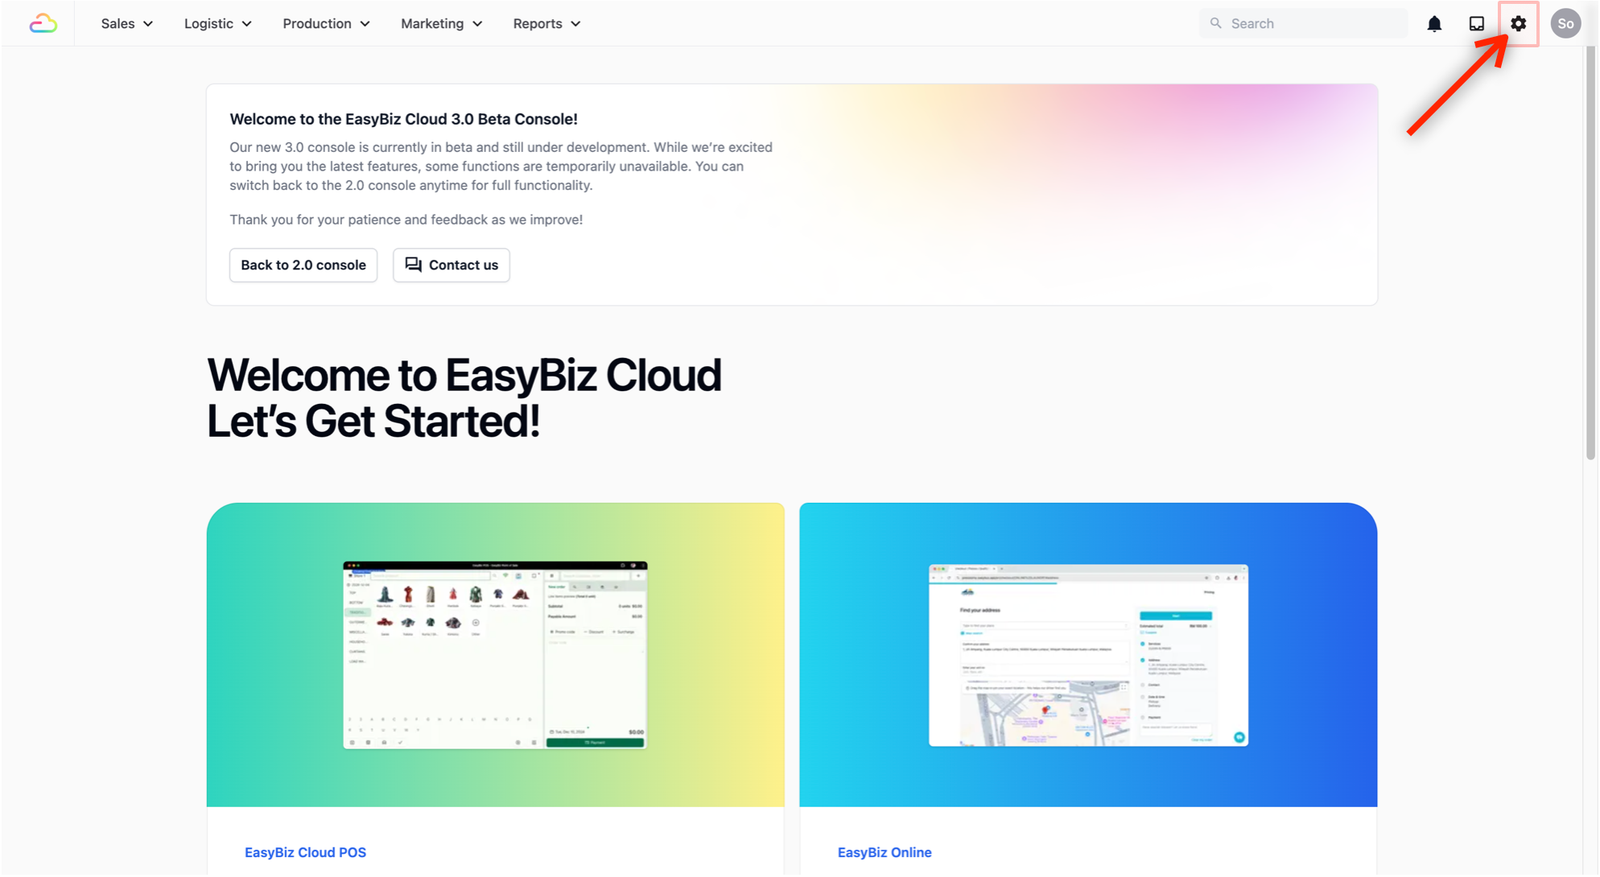
- From your EasyBiz Console, click on the Settings icon (the gear icon) in the top navigation bar.
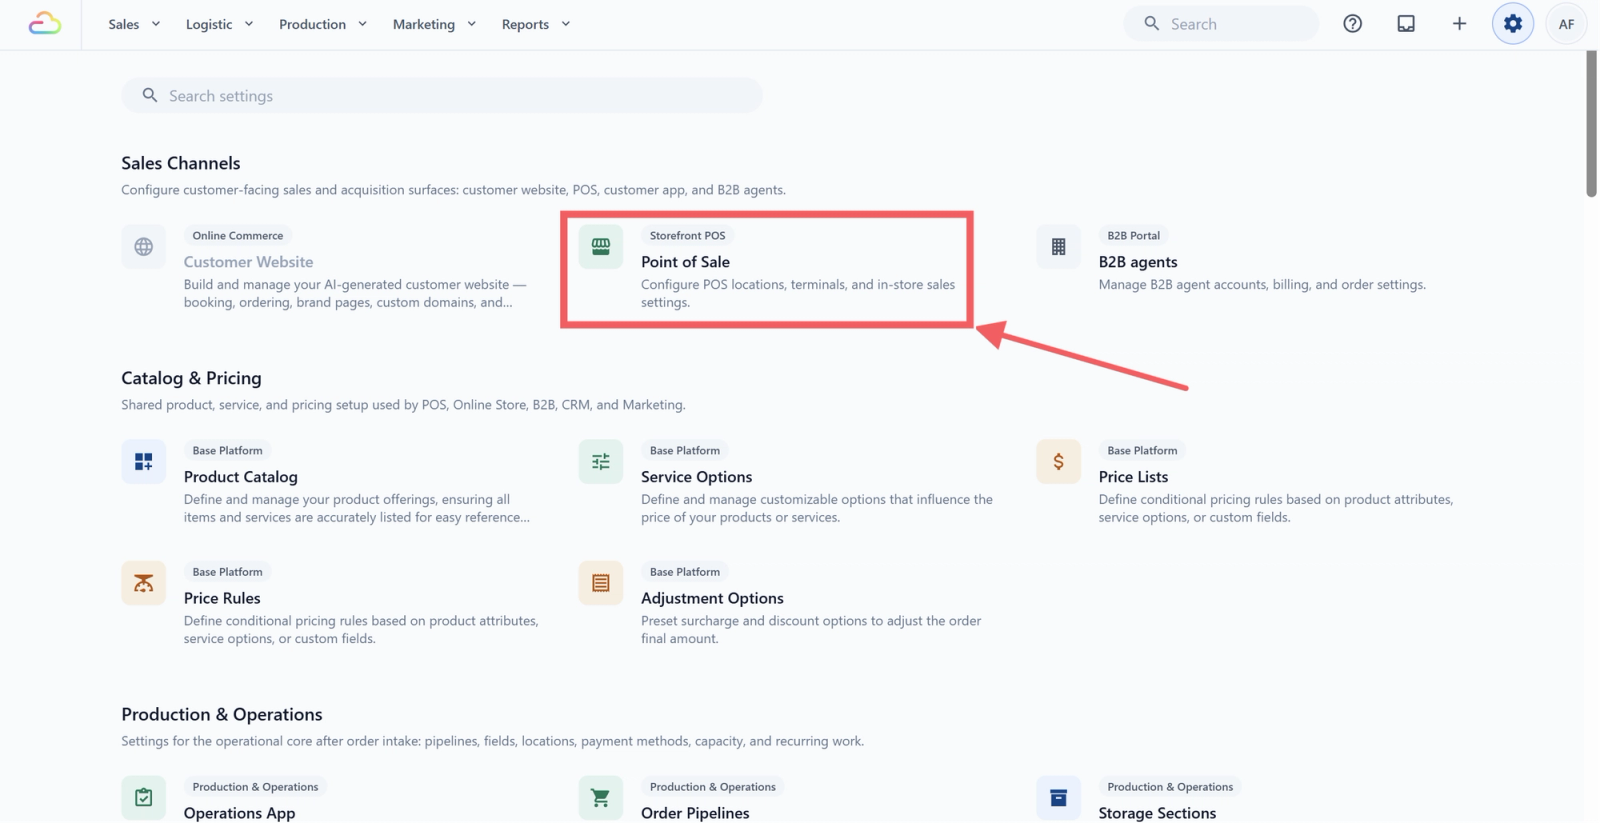
- Under Sales Channels, click on Point of Sale.
- On the Point of Sale page, click the Sign In to POS button in the top right corner.
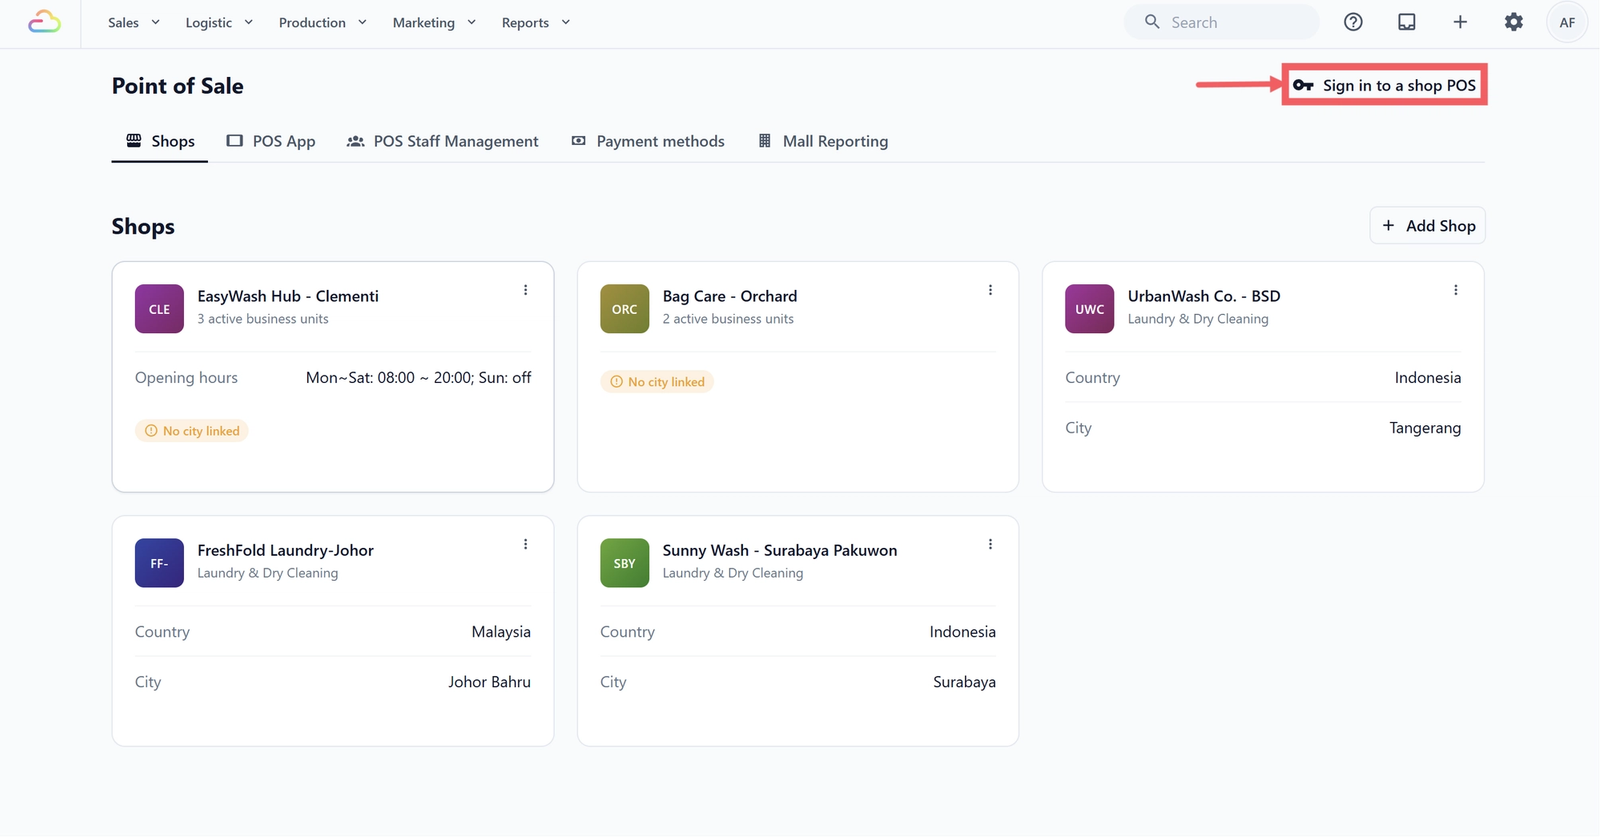
- A window will appear.
- Fill in:
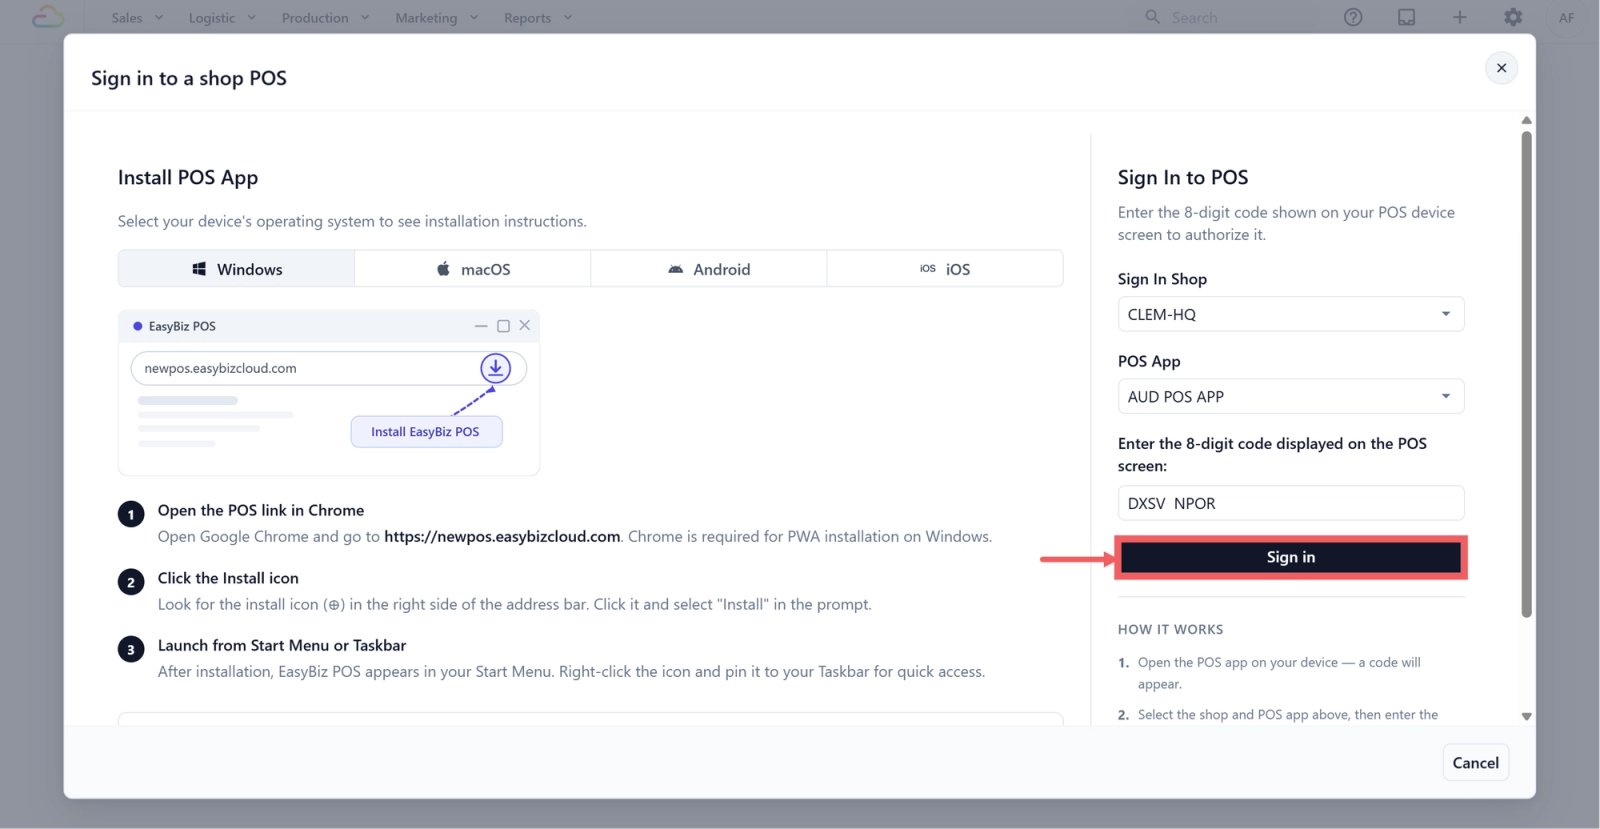
- Sign In Shop: Select the shop where this POS device will be used (for example, "Laundry wwp" or "AquaLuxe Laundry Studio").
- POS App: Select the POS app you want this device to use (for example, "Laundry POS").
- Enter the 8-characters code: Type in the code your staff sent you (for example, XXXX-YYYY).
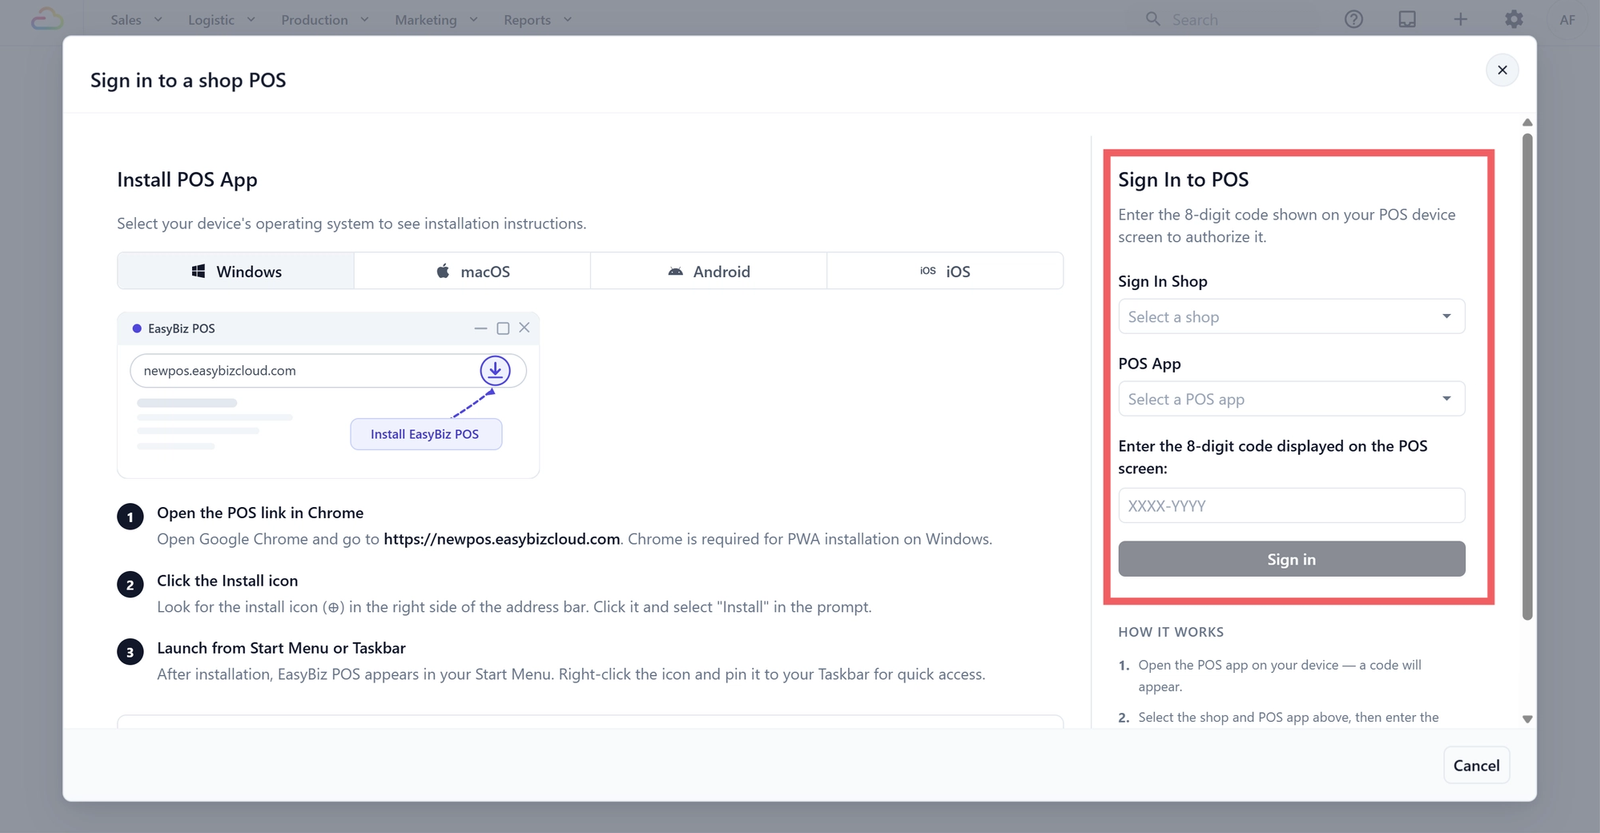
- Click Sign In.
- If the sign-in is successful, you will see a green "Sign-in successful" message with details about the device that was authorized.
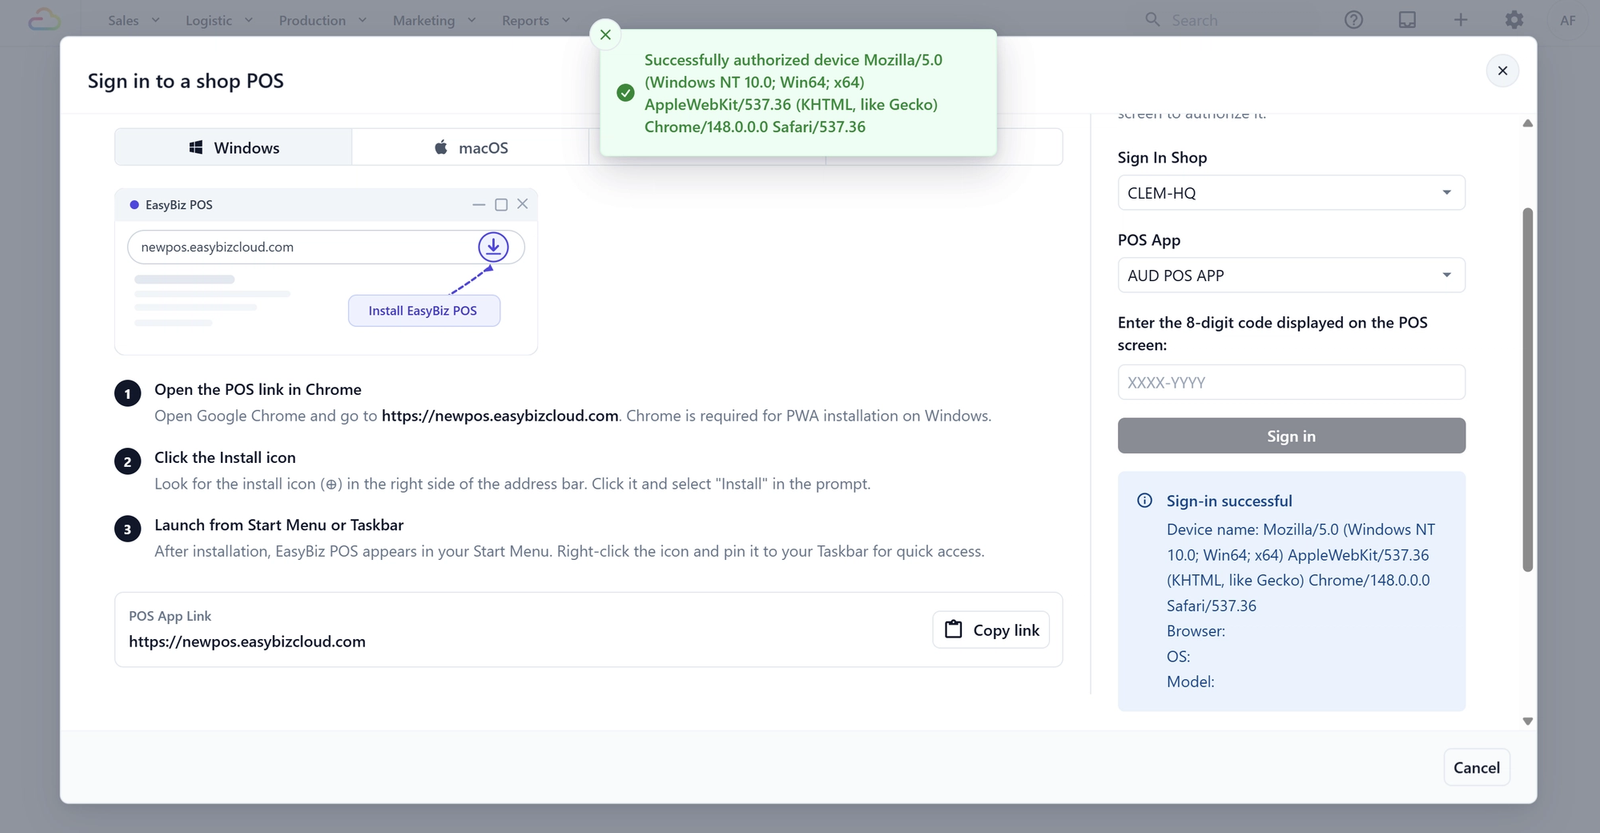
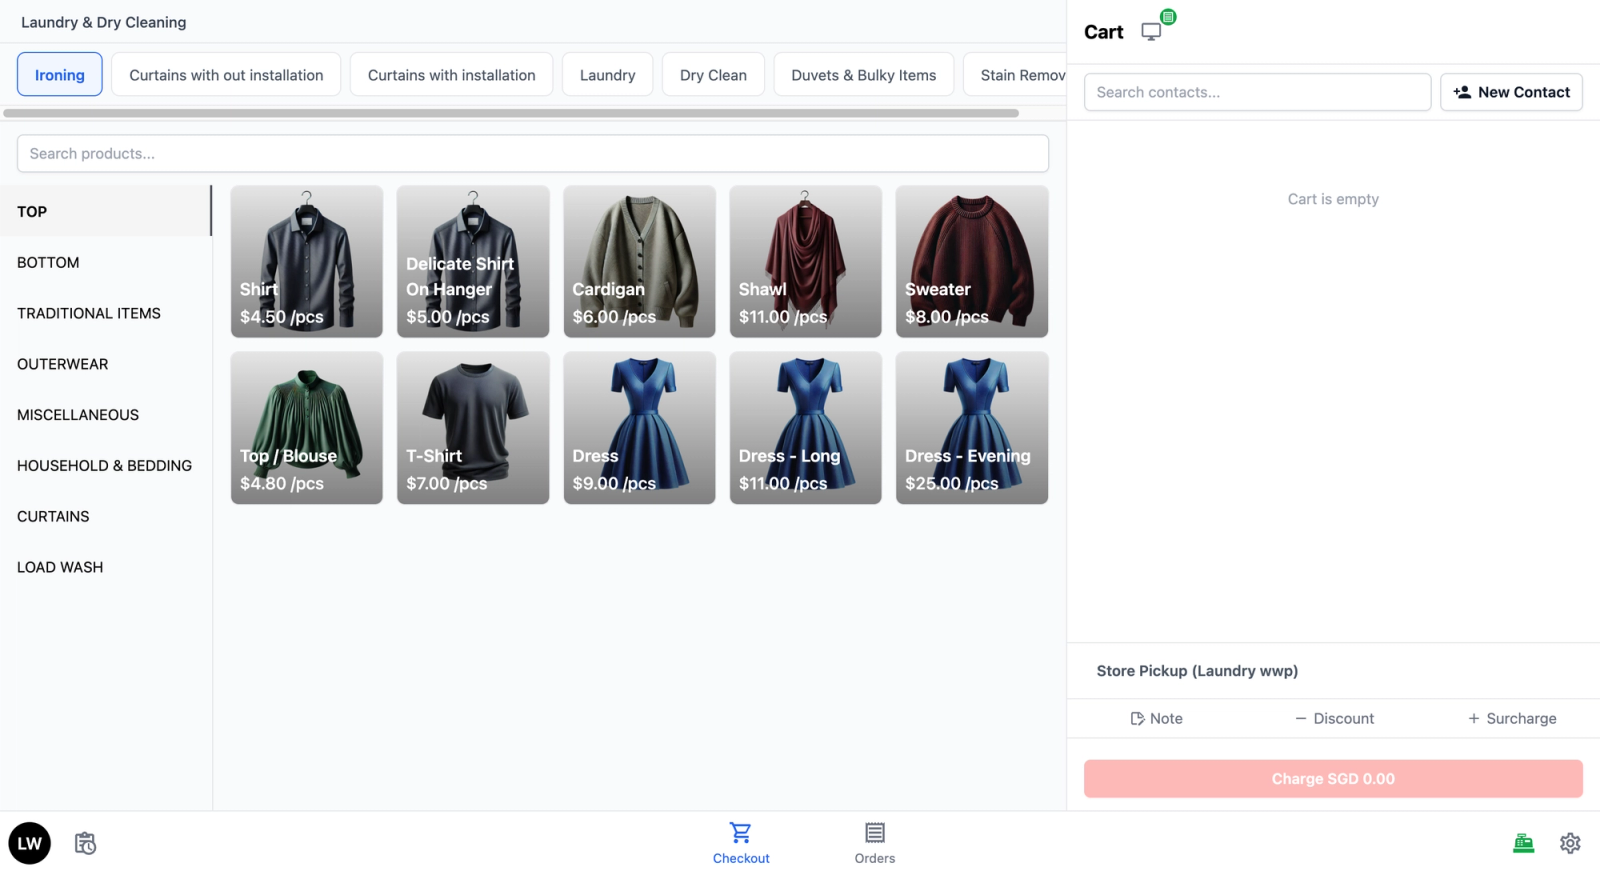
- You can now check with your staff — their POS device should have automatically loaded the POS app, and they are ready to start taking orders.
FAQs
What does the sign-in code look like?
It's an 8-character code of uppercase letters displayed as XXXX-YYYY. The staff shows it on the POS device; you enter it from Console → Point of Sale → Sign In to POS.
How long is the code valid?
30 minutes from generation, and a fresh code is issued once the remaining time drops below 15 minutes. If you get an error, ask staff to tap Retry on the POS to generate a new one.
Why does my staff see a Time Clock screen instead of Checkout after signing in?
That means the Time Clock block is set to Required. Staff must clock in with their passcode before they can access Checkout or any other screen. Change Clock-in Mode to Optional if you don't want this.
What happens to my POS if someone signs in a new device to the same shop?
Unless Multi-Station is on, the newer sign-in automatically signs out the older device — you'll see a "Login session expired" message on the first device.
What's Next?
Now that you are logged in, continue to [How to get around your POS screen] to learn the layout, tabs, and gestures your team will use every shift.
Give feedback
Up next
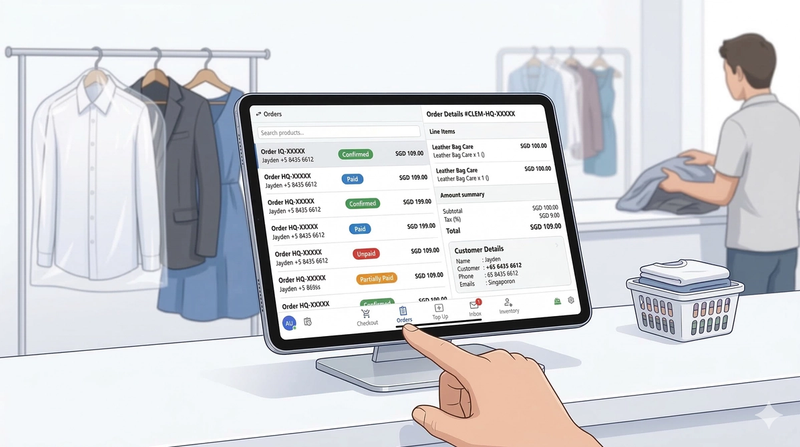
How to Get Around Your POS ScreenLearn where everything is on your POS so you can quickly find what you need.
Read more