Setting Up a New POS Location
In this article
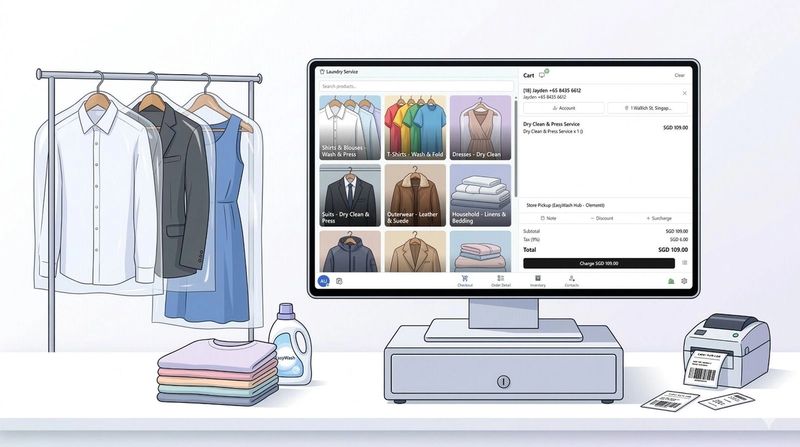
Every counter needs a location set up in EasyBiz before it can go live. Your location is where the system stores your outlet's name, address, opening hours, and which business unit it belongs to. This guide walks you through adding your first location and completing all three sections of its settings.
Contents
Contents
What Is a POS Location?
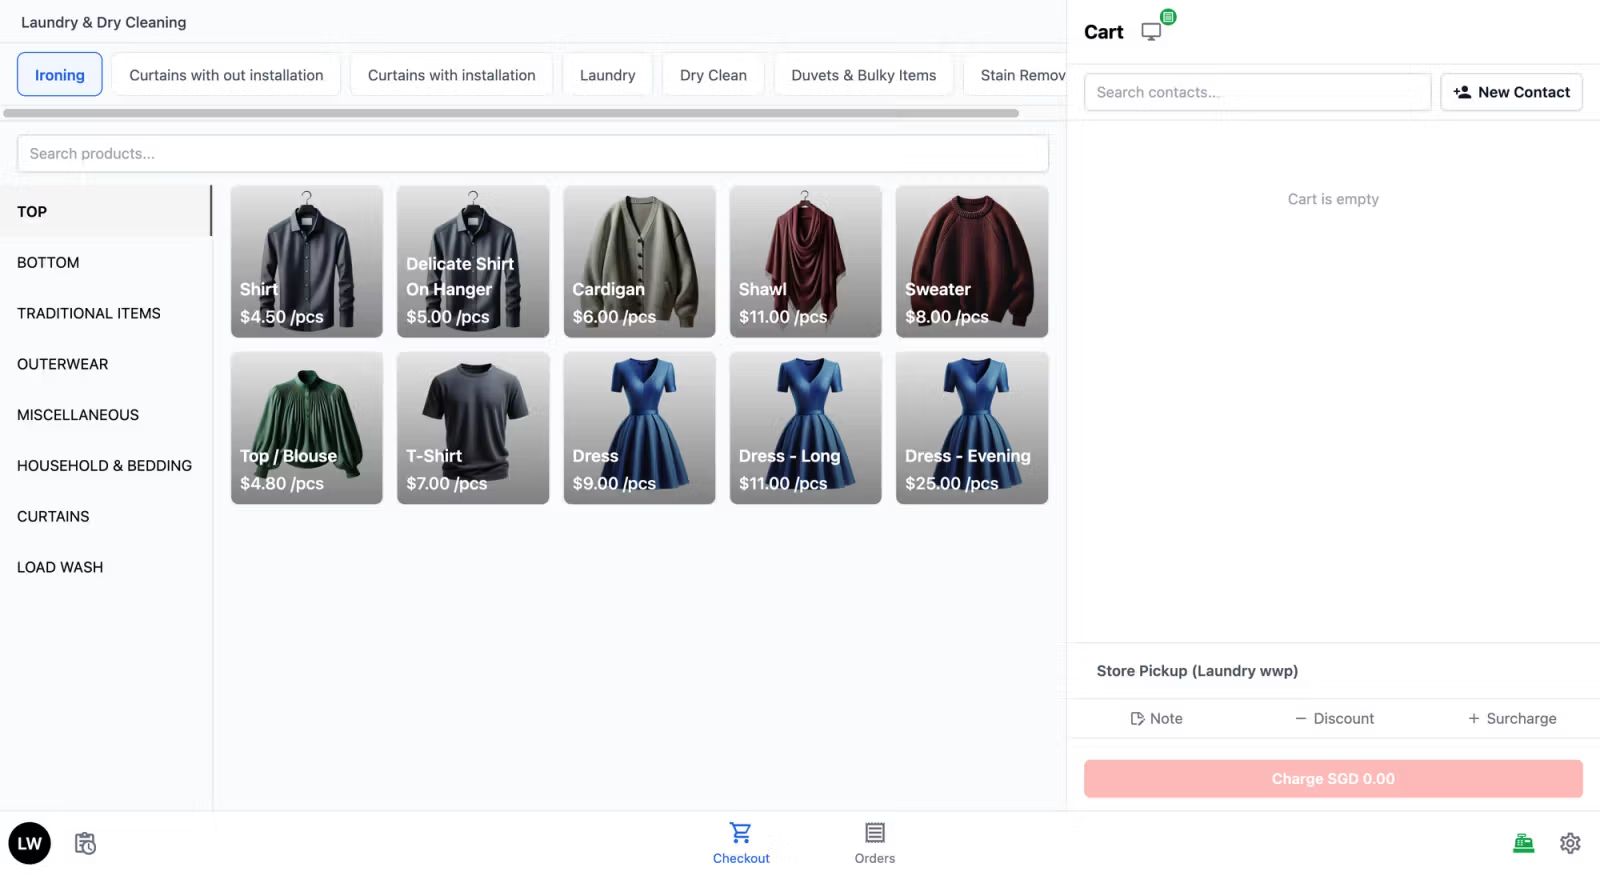
A POS Location represents a physical branch or outlet where your staff takes orders. Each location gets its own workspace in the system — with its own orders, cash drawer, sales reports, and staff. If you have multiple shops, each one needs its own POS Location so the system can track everything separately.
Adding Your POS Location
- Go to Settings from the top navigation bar
- Scroll down to the Sales Channels section and click Point of Sale
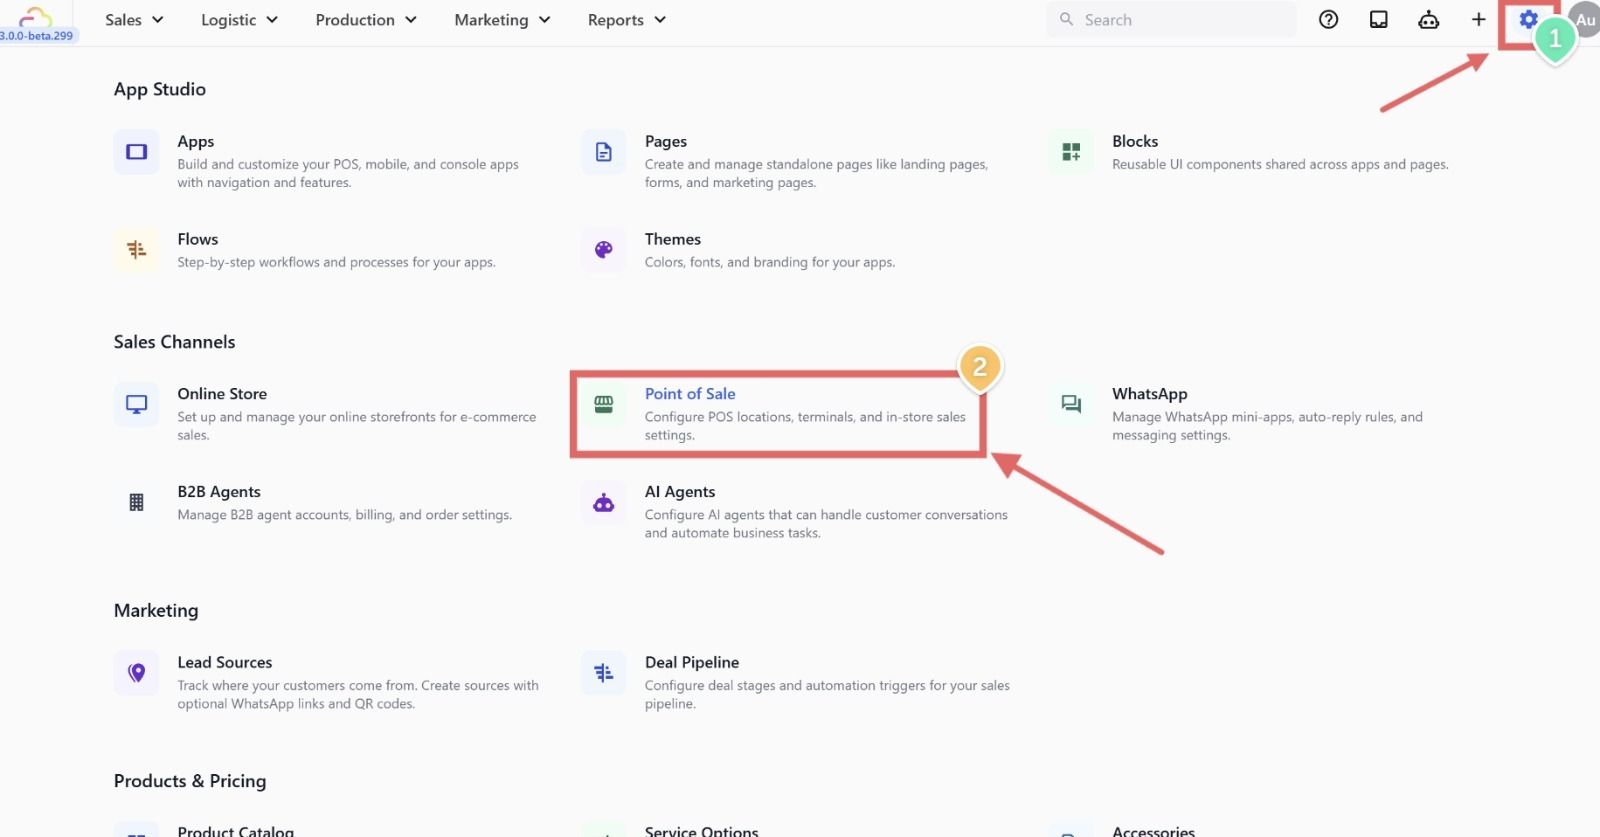
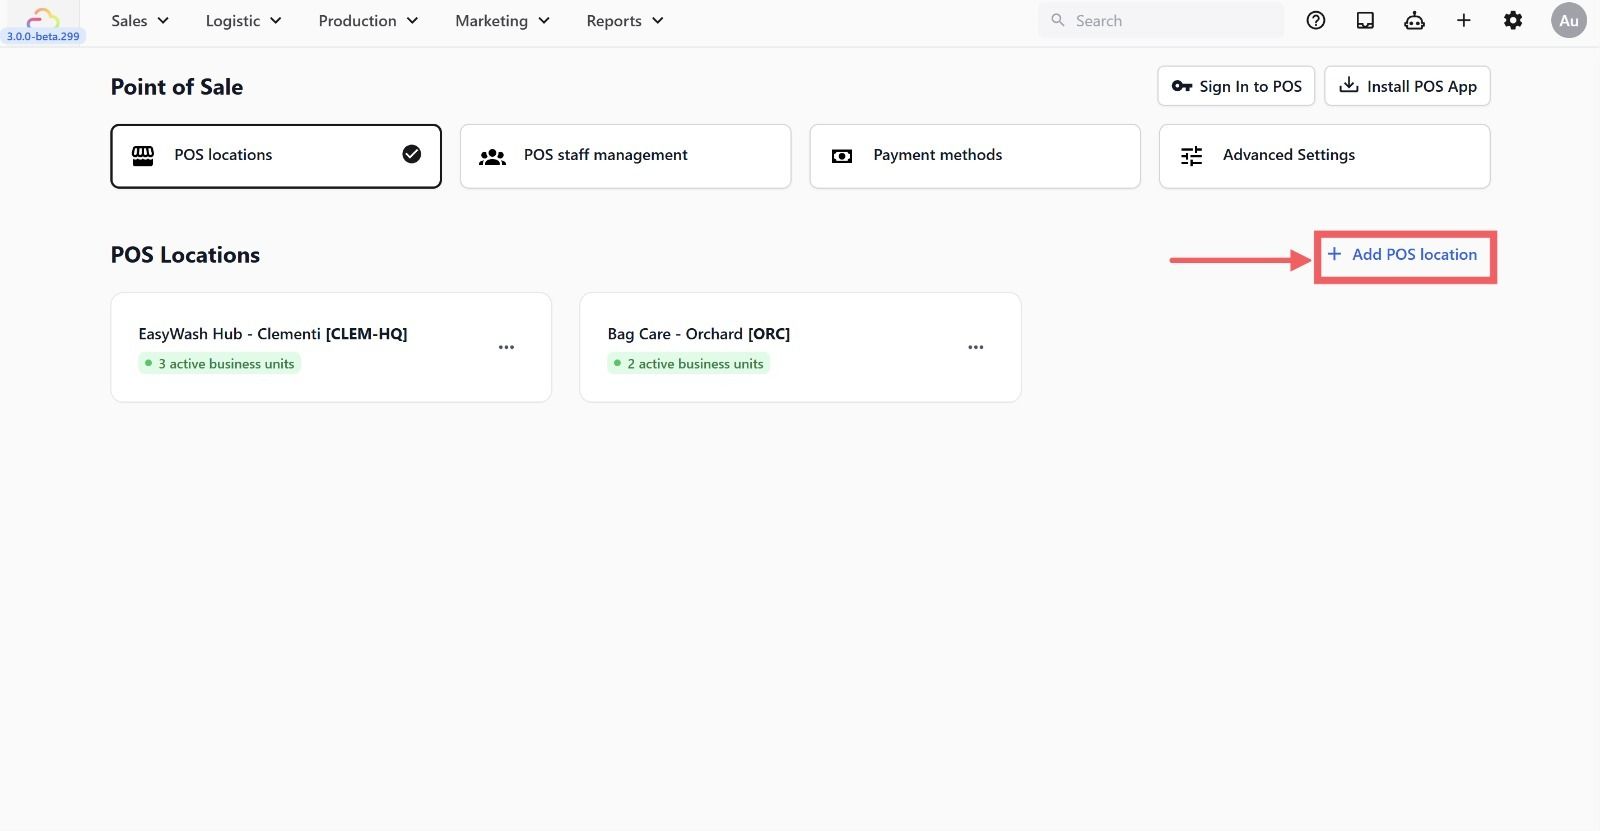
- You will land on the POS Locations tab
- Click + Add POS Location at the top right
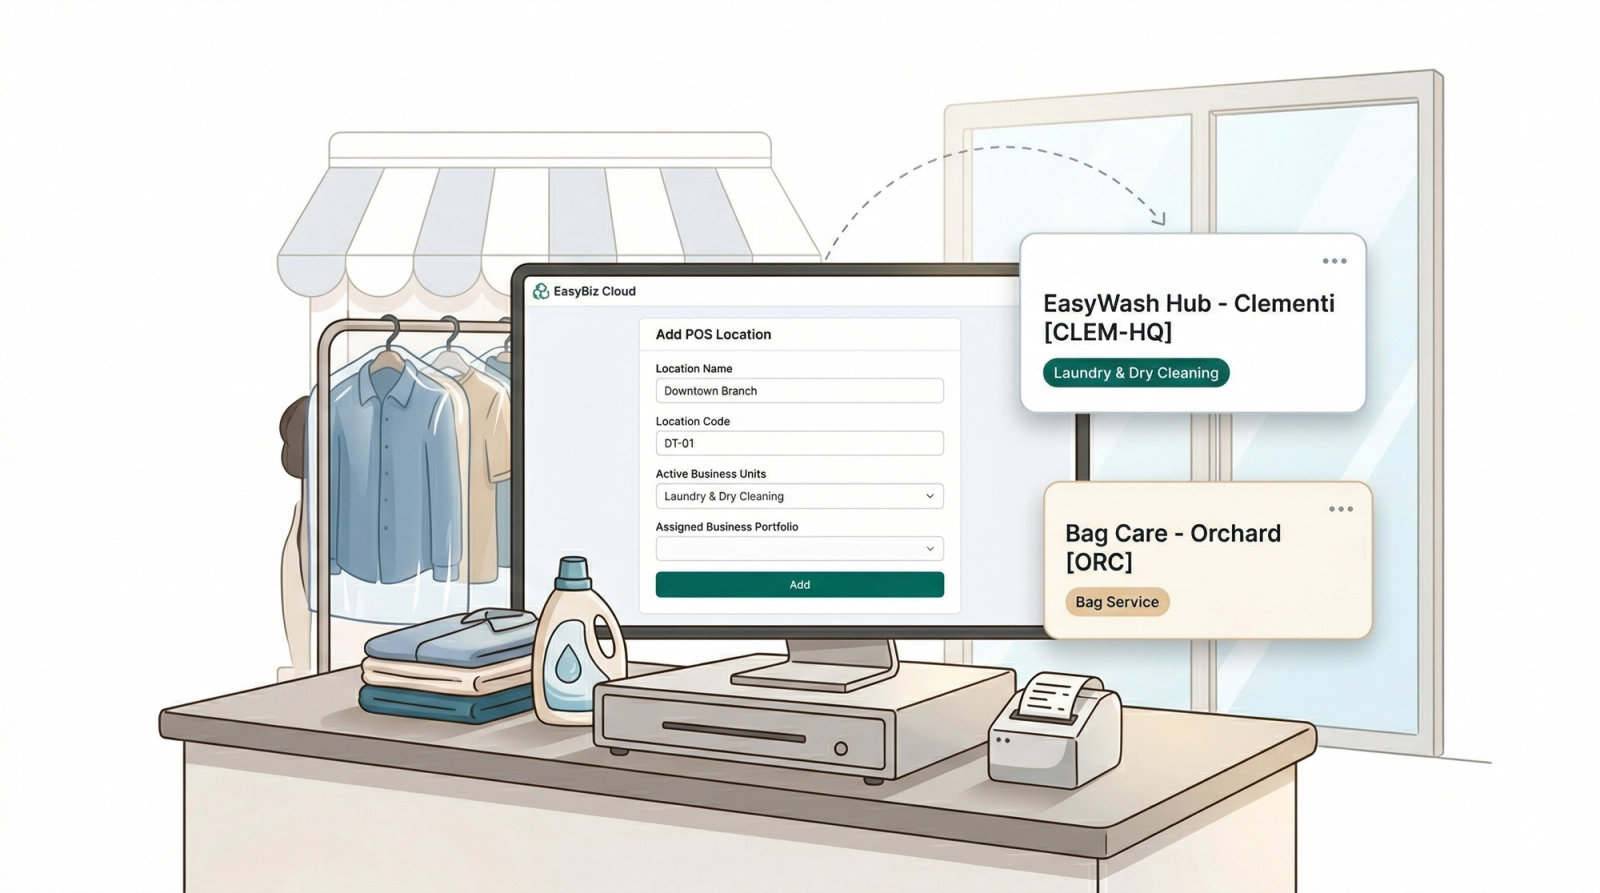
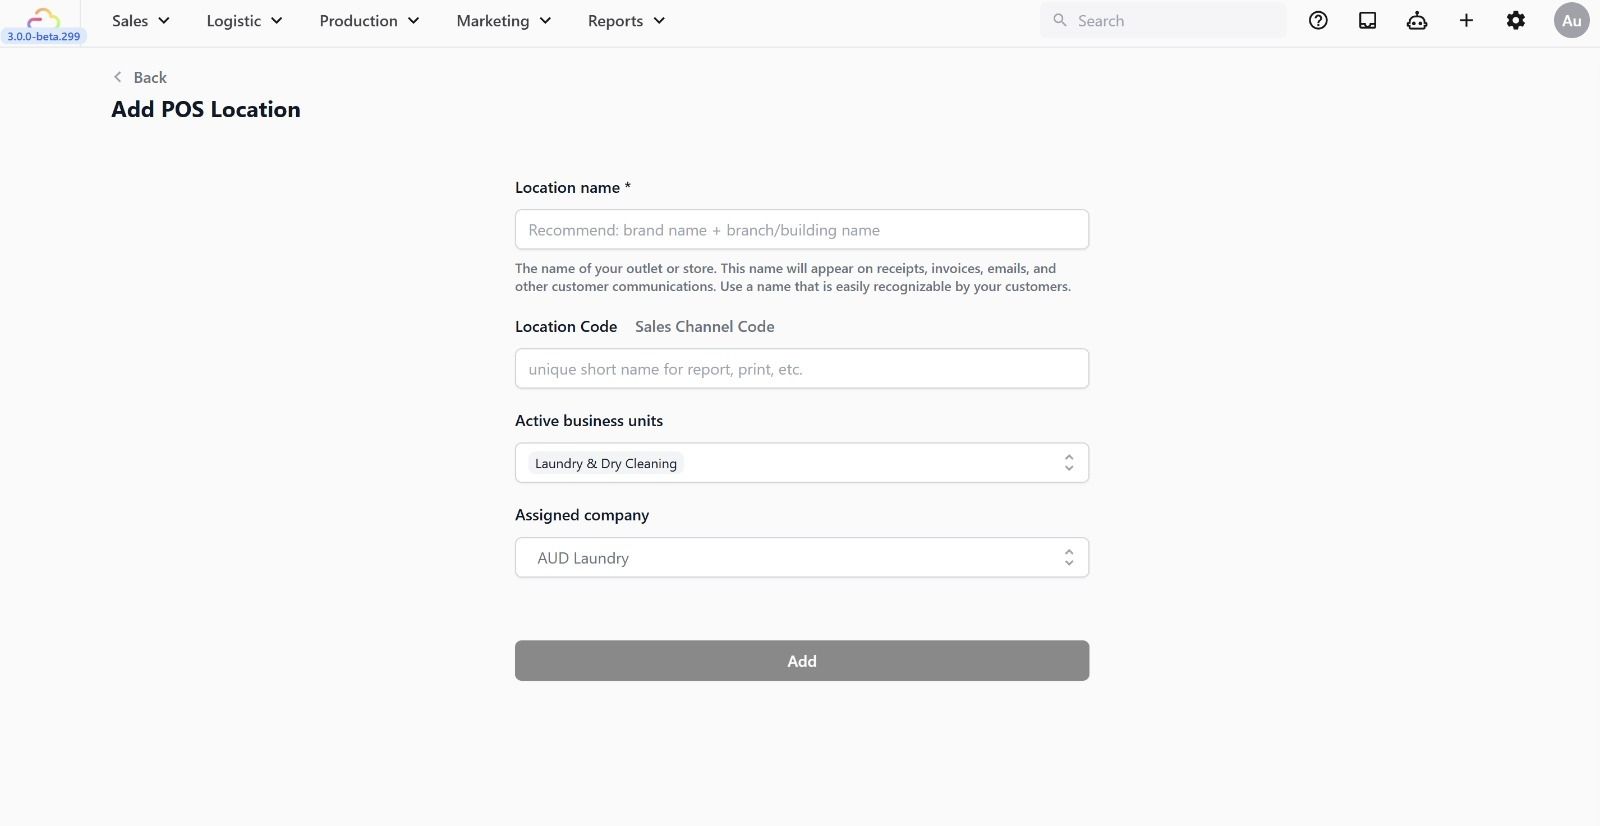
- Fill in the details:
- Location name -> The name of your outlet. This appears on receipts and customer communications (e.g. Vinz Laundry Woodlands).
- Location code -> A short unique code for reports and printed labels (e.g. VNZ for Woodlands, SPK for Sengkang). Keep it 2–4 characters. Once set, avoid changing it as it appears on historical labels and records.
- Active business units -> Select which business unit this location belongs to.
- Assigned company -> Select the company this location is under.
- Click Add
Completing Your Location Details
Once the location is created, you will be taken to its settings page. There are three sections to fill in. Complete all three and click Save in each section.
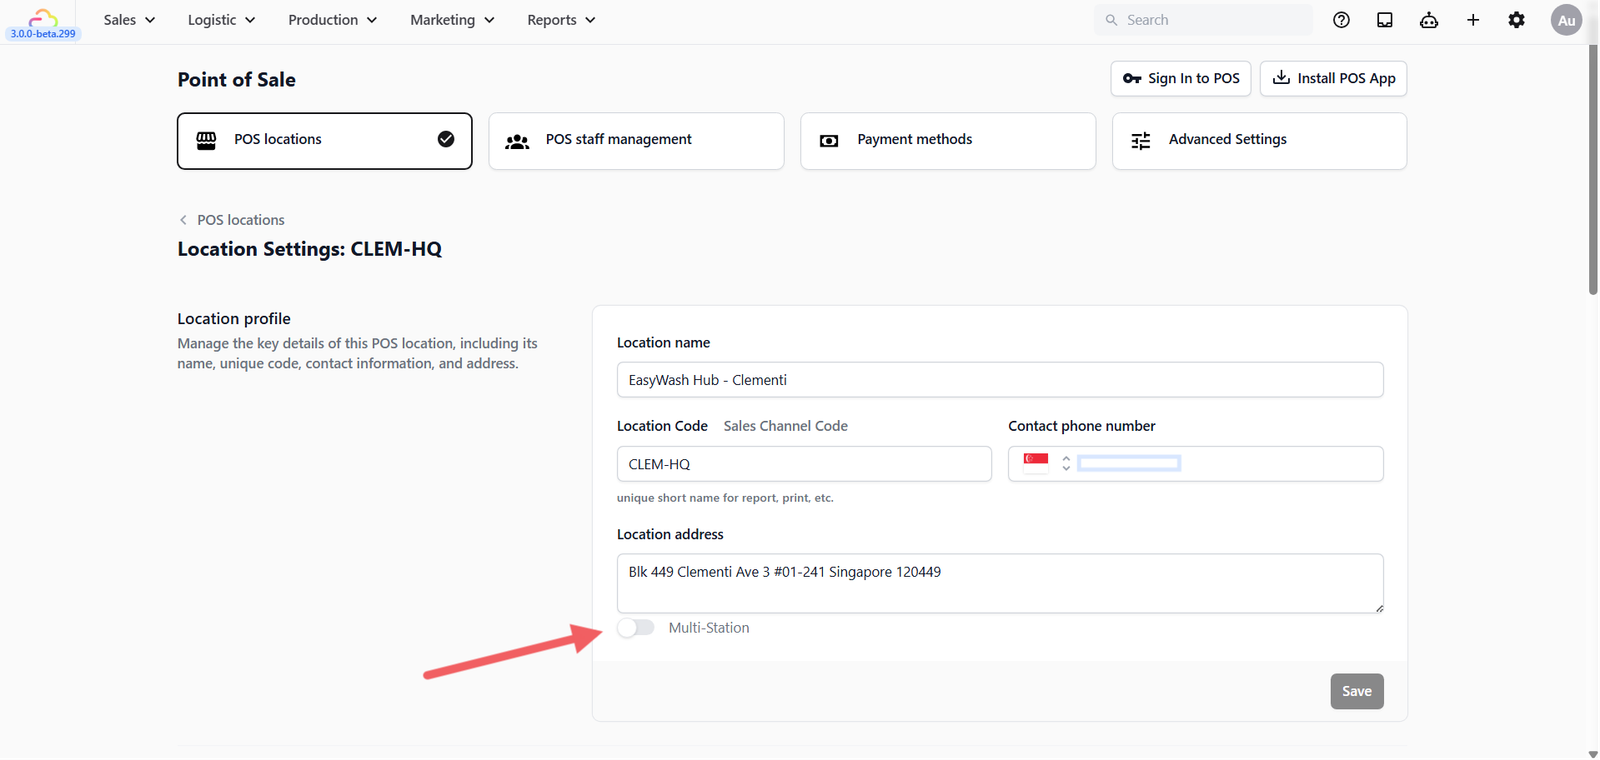
Location profile
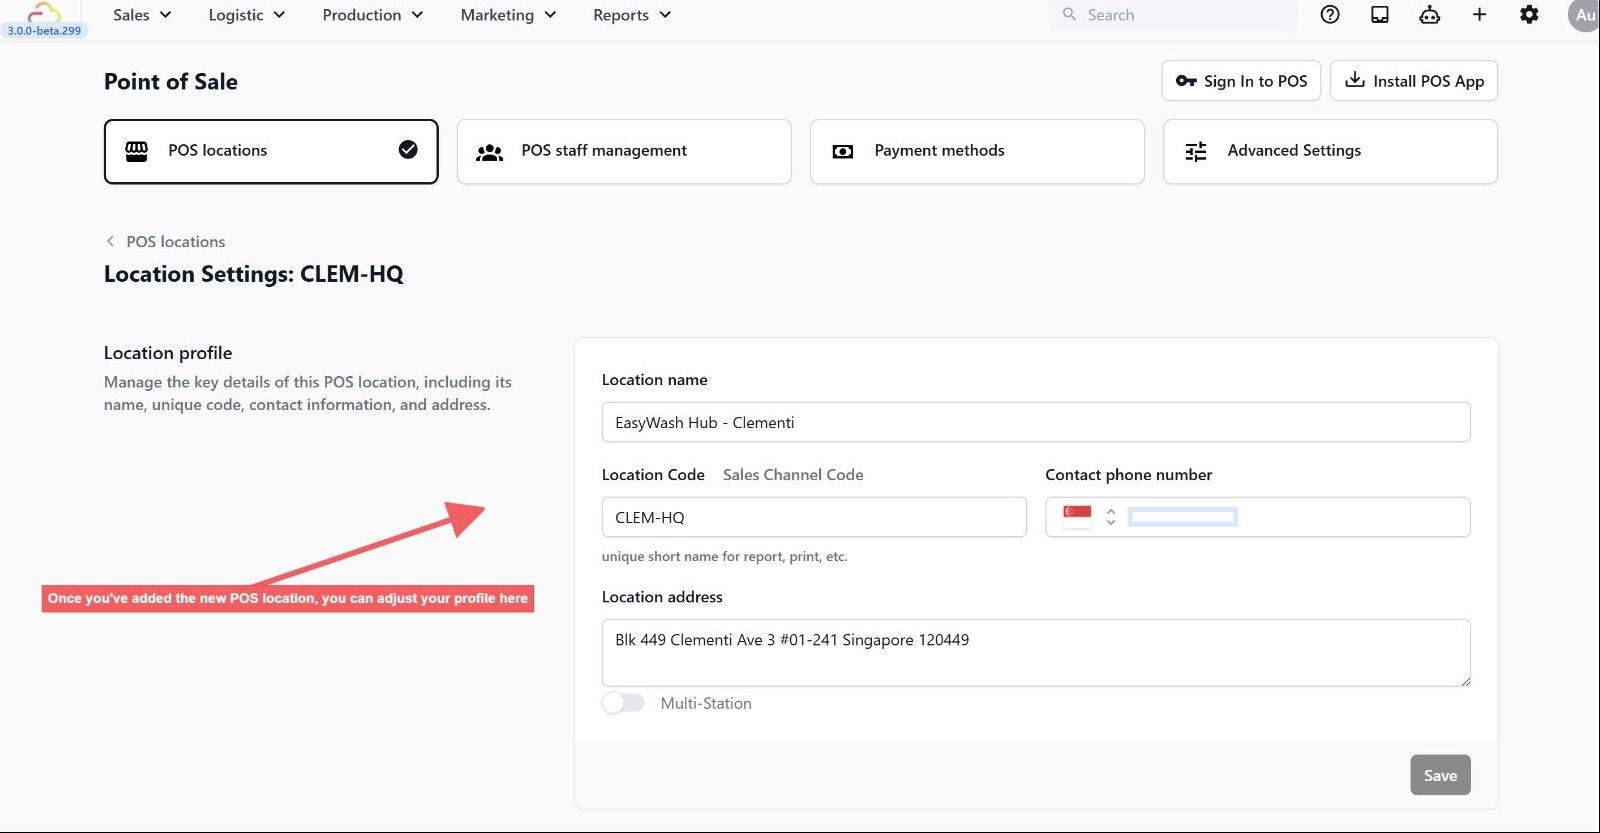
Fill in the following:
- Location name -> Your outlet name (auto filled-in)
- Location Code / Sales Channel Code -> The short code for reports and printing (auto filled-in)
- Contact phone number -> Your outlet's phone number. Appears on receipts and customer-facing communications.
- Location address -> Your outlet's physical address
- Multi-Station -> Leave this off if you only have one counter. See the Multi-Station section below for details.
Click Save when done.
Opening hours
Set the days and times your outlet is open. It actively affects how your business runs:
- Receipts -> Your opening hours are printed on customer receipts so customers always know when to reach you.
- Booking availability -> When a customer books a pickup or delivery slot, closed days are automatically hidden from the date picker. If Sunday is toggled off, customers will never see Sunday as an available option.
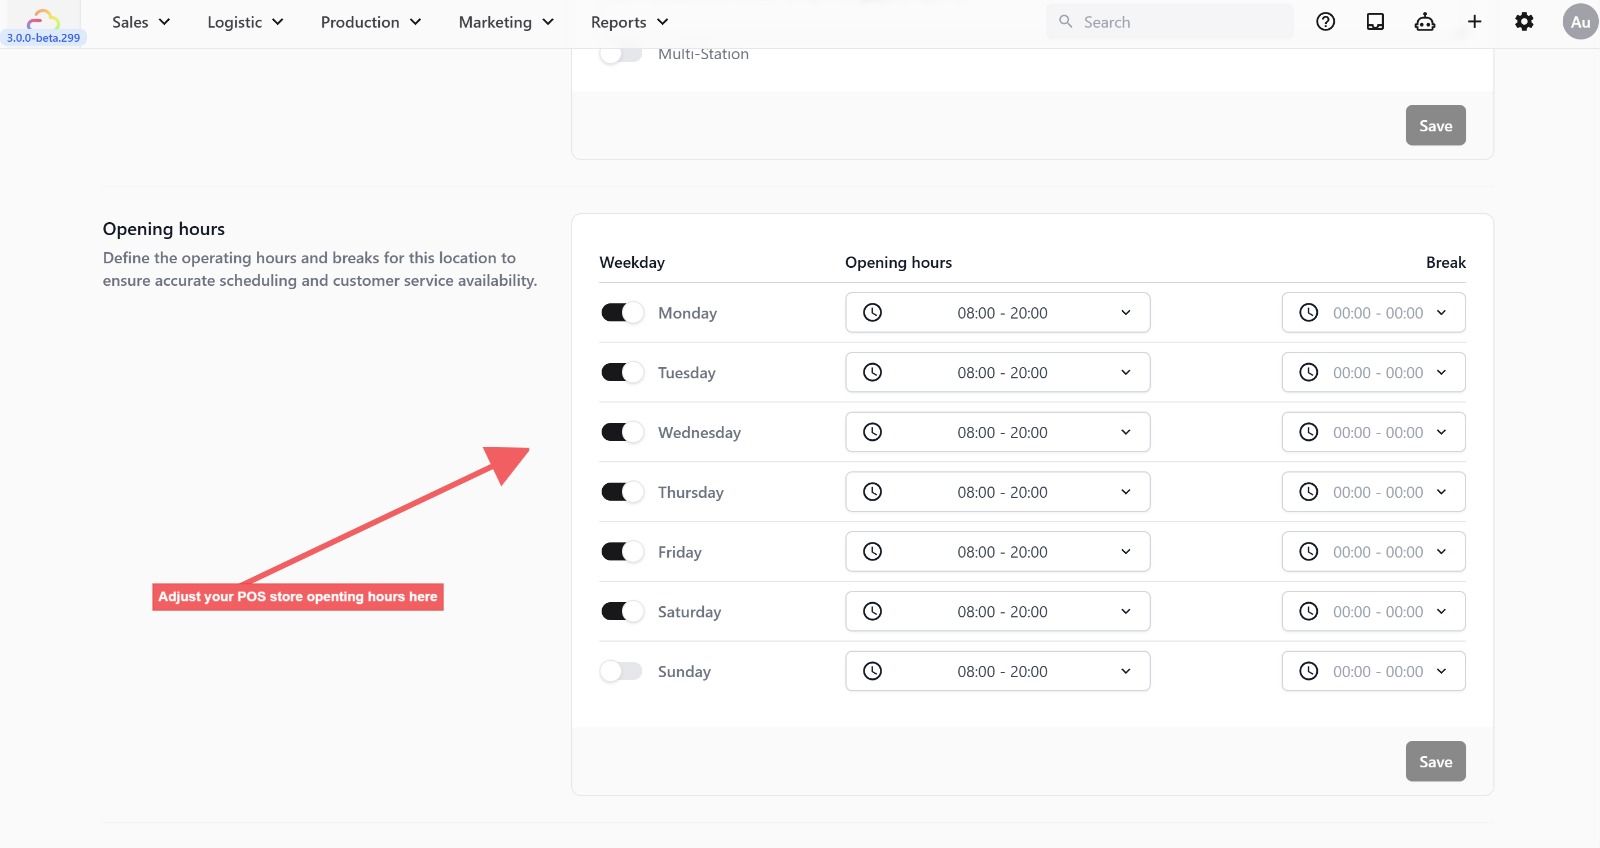
- Toggle each day on if your outlet is open that day. Toggle a day off if you are closed — it will be greyed out and excluded from all booking availability.
- For each open day, click the time dropdown and use the scroll pickers to set your From and To hours. Click OK to confirm.
- Optionally set a Break time for your lunch hour using the same picker on the right.
- Click Save when done.
Advanced settings
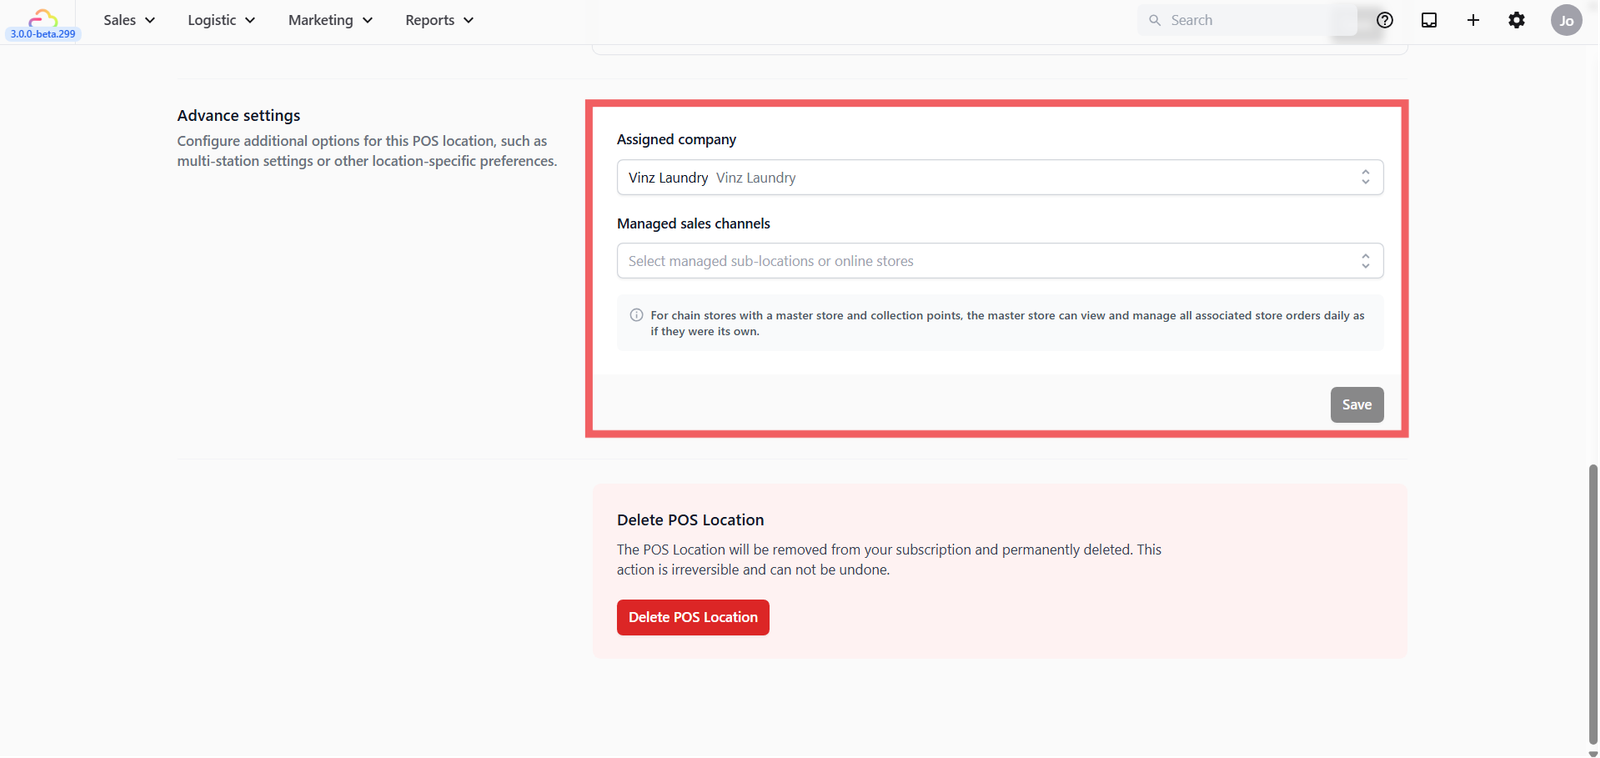
- Assigned company -> Select the company this location belongs to. (auto filled-in)
- Managed sales channels -> This is for businesses with multiple outlets or collection points. If you have a main store that manages orders from other locations or online stores, add those sub-locations here. The main store will then be able to view and manage their orders as if they were its own — useful for chain store setups.
Click Save when done.
Multi-Station
By default, only one POS device can be signed in to a location at a time. If a second device signs in, the first one is automatically signed out.
Turn Multi-Station on if you want multiple devices running simultaneously at the same location — for example, two counters at one outlet.
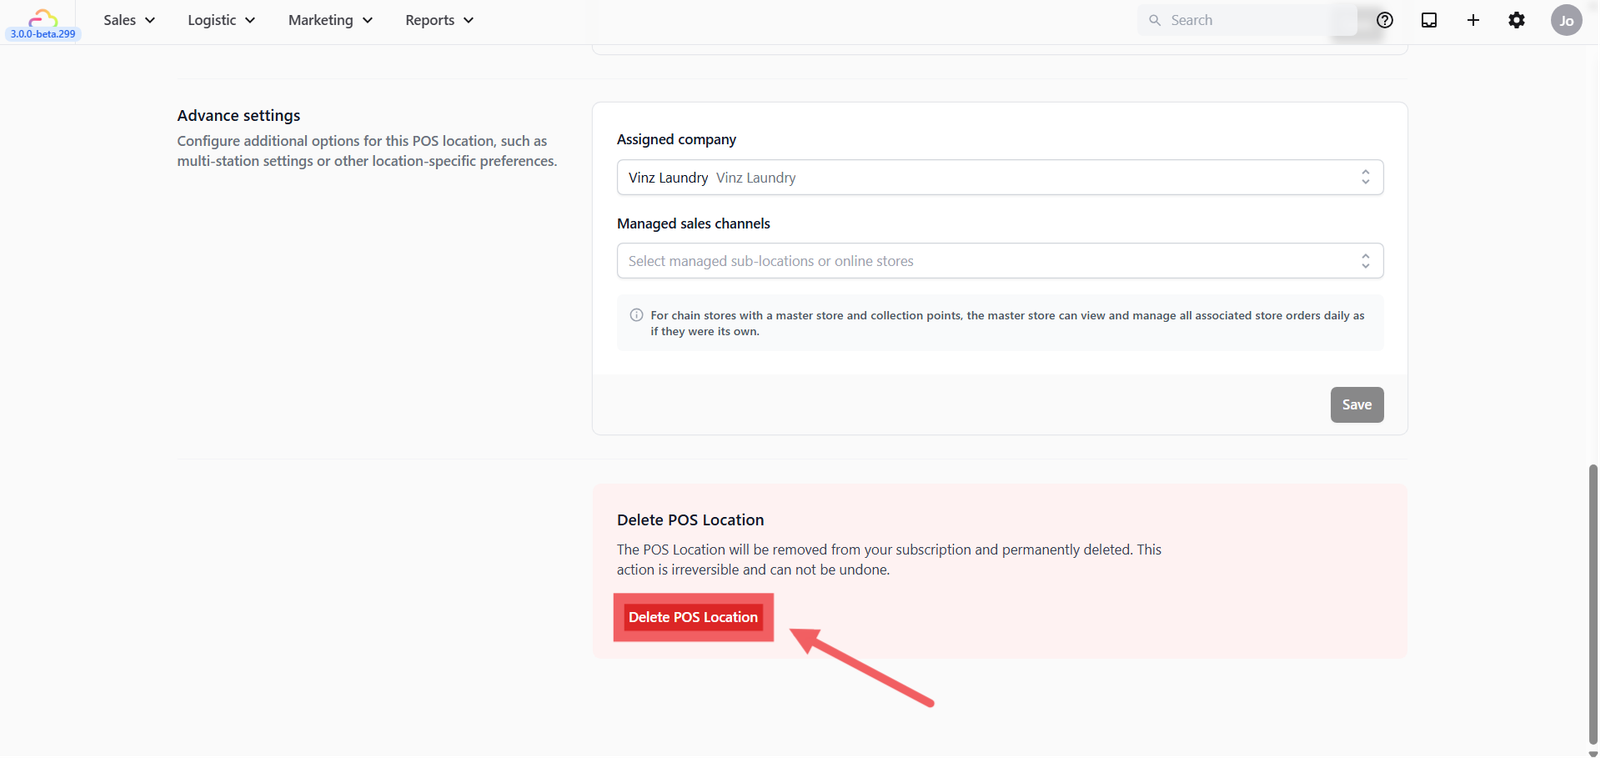
Deleting a POS Location
If you need to remove a location, scroll to the bottom of the Location Settings page and click Delete POS Location.
FAQs
Can I change the Location Code later?
Yes, it's editable, but we recommend you don't — the Location Code is printed on historical labels and records, so changing it creates mismatches with already-printed receipts and reports.
If I turn Sunday off in Opening Hours, does it affect anything else?
Yes. Closed days are excluded from all booking date pickers, so customers booking pickup or delivery will never see Sunday as an option. Opening hours also print on customer receipts.
What happens if I try to sign in a second POS device to the same location?
By default, only one device can be signed in at a time — the second sign-in automatically signs out the first. Turn on Multi-Station if you want multiple counters running at the same location simultaneously.
Why does Multi-Station require device location permission?
The system uses GPS to verify each device is physically at the store. Make sure the Location Address is correct before enabling — devices detected outside the store will be signed out automatically.
Can I recover a POS Location after deleting it?
No. Deletion is permanent and removes the location from your subscription. If you think you may need it again later, don't delete — just stop using it.
Give feedback